
Quick Recipe Version (TL;DR)
Quick Ingredients
- 2 lb fresh green beans, stem ends trimmed
- 8 garlic cloves, peeled and halved
- 8 fresh dill sprigs
- 2 tsp crushed red pepper flakes (or to taste)
- 2 tsp whole black peppercorns
- 2 1/2 cups water
- 2 1/2 cups distilled white vinegar (5% acidity)
- 3 Tbsp kosher salt (or 2 Tbsp pickling/canning salt)
- 2 Tbsp granulated sugar
- 4 clean pint-size glass jars with lids
Do This
- 1. Wash and trim green beans so they fit vertically in pint jars; wash jars and lids in hot, soapy water and rinse well.
- 2. Bring a large pot of salted water to a boil; blanch beans for 30 seconds, then plunge into ice water and drain well.
- 3. In a saucepan, combine water, vinegar, salt, and sugar; bring to a boil, stirring to dissolve, then simmer 2 minutes.
- 4. Divide garlic, dill, red pepper flakes, and peppercorns among 4 pint jars; pack beans upright, leaving about 1/2 inch headspace.
- 5. Pour hot brine into jars to cover beans, leaving 1/2 inch headspace; tap jars and use a clean utensil to release air bubbles, then top off with more brine if needed.
- 6. Wipe rims, apply lids, and let cool at room temperature about 1 hour, then refrigerate.
- 7. Let beans cure at least 24 hours (3 days is best) before eating; keep refrigerated and enjoy within 1 month.
Why You’ll Love This Recipe
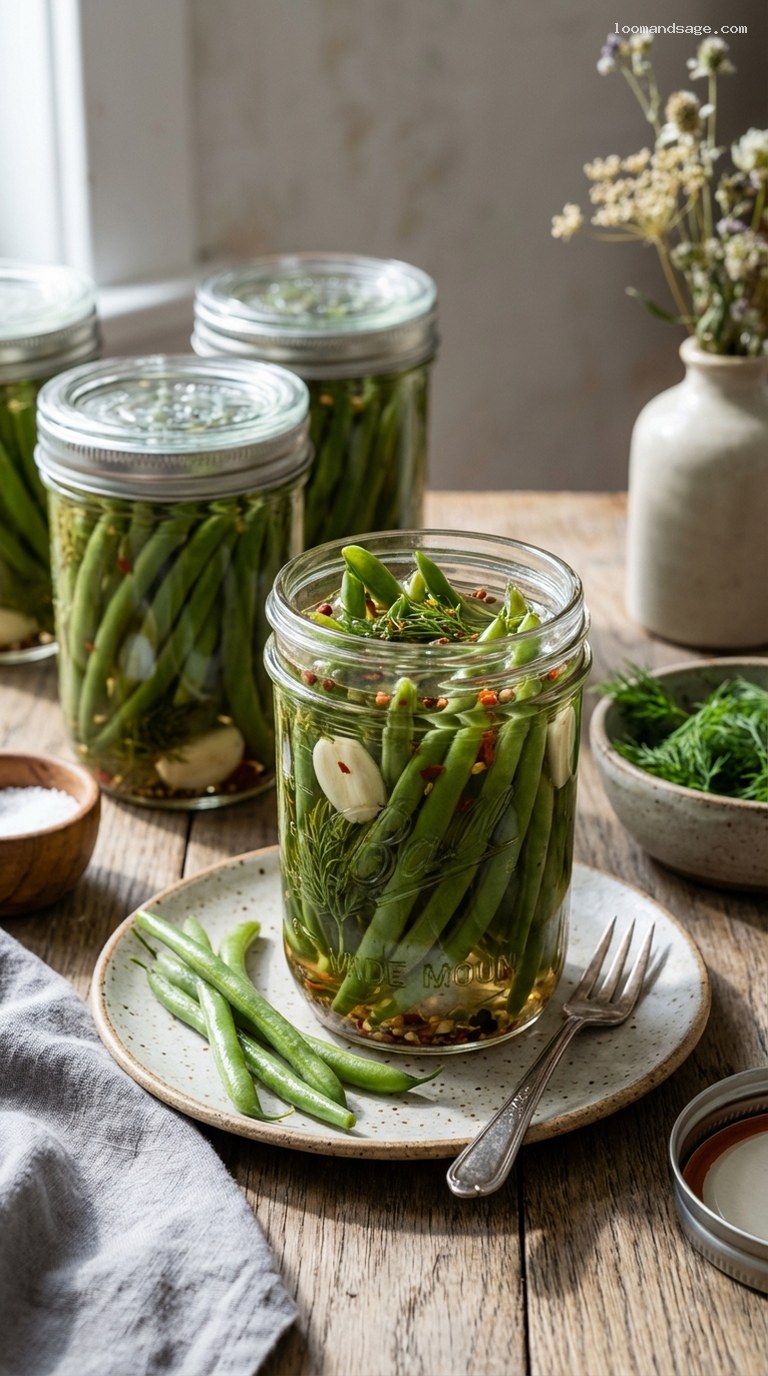
- Incredibly crisp, tangy, garlicky green beans with a bold dill and chili kick.
- No canning equipment needed: just pour, chill, and wait for the magic to happen.
- Perfect for Bloody Marys, snack platters, and charcuterie boards.
- Make-ahead friendly: one quick session of prep gives you jars of flavor for weeks.
Grocery List
- Produce: 2 lb fresh green beans, 1 small head of garlic (for 8 cloves), 1 small bunch fresh dill
- Dairy: None
- Pantry: Distilled white vinegar (5% acidity), kosher or pickling/canning salt, granulated sugar, crushed red pepper flakes, whole black peppercorns
Full Ingredients
For the beans and aromatics
- 2 lb fresh green beans (also called string beans or snap beans), stem ends trimmed and cut to fit jars
- 8 garlic cloves, peeled and halved (2 cloves per jar)
- 8 fresh dill sprigs (2 sprigs per jar), plus extra for garnish if desired
- 2 tsp crushed red pepper flakes (about 1/2 tsp per jar; adjust to taste)
- 2 tsp whole black peppercorns (about 1/2 tsp per jar)
For the vinegar brine
- 2 1/2 cups water
- 2 1/2 cups distilled white vinegar, 5% acidity (or filtered apple cider vinegar for a slightly softer flavor)
- 3 Tbsp kosher salt (or 2 Tbsp pickling/canning salt; do not use iodized table salt)
- 2 Tbsp granulated sugar
Equipment
- 4 pint-size (16-ounce) glass jars with tight-fitting lids (mason jars or similar)
- 1 large pot for blanching beans
- 1 medium saucepan for brine
- Tongs or slotted spoon
- Large bowl for ice bath
- Heatproof measuring cup or ladle (for pouring brine)
- Optional: funnel for canning, chopstick or butter knife for releasing air bubbles
Step-by-Step Instructions
Step 1: Prep the jars and green beans
Wash the jars and lids in hot, soapy water, then rinse well and let them air-dry upside down on a clean towel. Because these are refrigerator pickles, full canning sterilization is not required, but starting with very clean jars is important.
Rinse the green beans thoroughly under cool running water. Trim off the stem ends, and if needed, trim the other end just enough so the beans will fit vertically inside your pint jars while leaving about 1/2 inch of headspace at the top. Set the trimmed beans aside.
Step 2: Blanch the beans for color and crunch
Fill a large pot with water, add 1 to 2 teaspoons of salt, and bring it to a rolling boil over high heat. While the water heats, prepare a large bowl of ice water.
Once the water is boiling, add the green beans and blanch them for 30 seconds. This quick dip sets their bright green color and helps them stay crisp. Immediately transfer the beans to the ice water bath to stop the cooking. Let them cool for 2 to 3 minutes, then drain well and pat dry with a clean kitchen towel. Excess water can dilute your brine, so dry them as well as you can.
Step 3: Make the brine
In a medium saucepan, combine the water, distilled white vinegar, kosher (or pickling) salt, and granulated sugar. Place over medium-high heat and bring to a full boil, stirring occasionally to help the salt and sugar dissolve.
Once the brine reaches a boil, reduce the heat to maintain a gentle simmer and cook for 2 minutes. Turn off the heat and keep the brine hot while you pack the jars. Hot brine helps draw flavors into the beans more quickly.
Step 4: Pack the jars with aromatics and beans
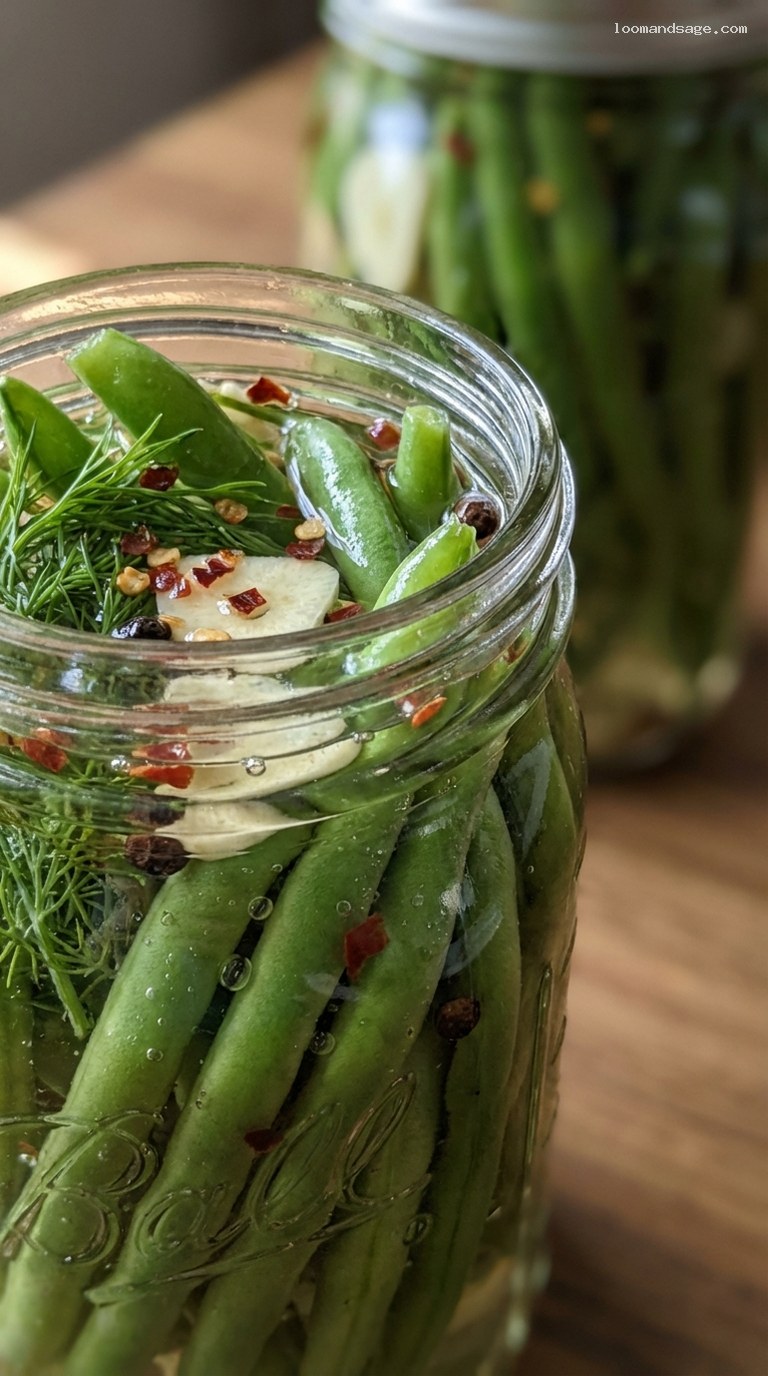
Divide the aromatics evenly among the 4 pint jars: place 2 halved garlic cloves, 2 dill sprigs, 1/2 teaspoon crushed red pepper flakes, and 1/2 teaspoon black peppercorns into the bottom of each jar.
Pack the blanched and dried green beans into the jars vertically, standing them upright and packing them fairly tightly so they do not float once the brine is added. Leave about 1/2 inch of space at the top of each jar (this is your headspace). Do not crush the beans; just snug them in firmly.
Step 5: Add the hot brine and seal the jars
Carefully ladle or pour the hot brine into the packed jars. A canning funnel is helpful here but not required. Fill each jar until the beans are completely covered, still leaving about 1/2 inch of headspace at the top.
Use a clean chopstick, butter knife, or similar tool to gently slide around the inside edges of each jar to release any trapped air bubbles. If the brine level drops, top it off with more hot brine so the beans are fully submerged.
Wipe the rims of the jars with a clean, damp cloth to remove any drips, then place the lids on and twist the bands until they are fingertip-tight (snug but not overly tight). Let the jars cool at room temperature for about 1 hour.
Step 6: Chill, cure, and serve
Once the jars have cooled to room temperature, place them in the refrigerator. The beans will start to taste good after 24 hours, but for the best flavor and texture, let them cure for 2 to 3 days before digging in.
Keep the jars refrigerated at all times. Use a clean fork or tongs to remove beans so the brine stays clear and free of contamination. Properly stored, your refrigerator dilly beans will keep for up to 1 month.
Serve chilled straight from the jar, tuck them into Bloody Marys, pile them onto snack plates and charcuterie boards, or chop them and add to salads and potato dishes for a tangy crunch.
Pro Tips
- Choose firm, slender beans: Young, thin green beans (sometimes labeled French or haricots verts) stay the crispest. Avoid limp or overly thick beans.
- Pack jars tightly: Tightly packed beans are less likely to float and will stay neatly submerged in the brine, which helps them pickle evenly.
- Do not skip the chill time: The beans need at least 24 hours in the brine to absorb flavor, but 3 days is ideal for maximum dill and garlic punch.
- Adjust the heat: For spicier beans, increase the crushed red pepper to 1 teaspoon per jar or add a slice of fresh jalapeño or serrano to each jar. For mild beans, reduce the red pepper to a pinch or omit it.
- Use the right salt: Kosher or pickling salt dissolves cleanly and gives predictable results. Iodized table salt can cloud the brine and taste harsher.
Variations
- Extra Spicy Garlic Dilly Beans: Double the garlic (4 cloves per jar) and increase the crushed red pepper to 1 teaspoon per jar. Add a few slices of fresh hot chili (jalapeño, serrano, or Thai) to really turn up the heat.
- Bloody Mary Dilly Beans: Add 1/2 teaspoon celery seeds and 1 teaspoon prepared horseradish (wrapped in a little cheesecloth or in a tea infuser to keep the brine clear) to each jar. These beans are tailor-made as a garnish for Bloody Marys.
- Mixed Pickled Veg Jar: Along with green beans, tuck in matchstick-cut carrots, thin strips of red bell pepper, or a few cauliflower florets. Keep the total vegetable volume about the same so the brine level works out correctly.
Storage & Make-Ahead
These refrigerator dilly beans are perfect for making ahead. Once cooled and chilled, they keep well in the refrigerator for up to 1 month. For the best texture and flavor, wait at least 2 to 3 days before serving, which allows the beans to fully absorb the brine and aromatics.
Always store the jars in the refrigerator, not at room temperature, because this recipe is not processed for shelf-stable canning. Make sure the beans remain submerged in brine; if the liquid level drops significantly, top off with a small batch of fresh, cooled brine made with the same vinegar-to-water-to-salt ratio. Use clean utensils every time you remove beans from the jar to help them stay fresh and safe.
Nutrition (per serving)
Approximate values per serving (about 4 to 5 beans, assuming 24 servings total): 20 calories; 0 g fat; 4 g carbohydrates; 2 g fiber; 1 g protein; 0 g added fat; approximately 350–450 mg sodium (varies with salt type and how much brine is consumed). Values are estimates and will vary with exact ingredients and portion sizes.
