
Quick Recipe Version (TL;DR)
Quick Ingredients
- 10 oz (about 1 large bunch) red radishes, thinly sliced
- 1-inch piece fresh ginger, thinly sliced
- 1 large garlic clove, smashed
- 1 small red chili (or 1/2 tsp red pepper flakes), sliced
- 1 cup water
- 3/4 cup rice vinegar or distilled white vinegar
- 2 tbsp granulated sugar
- 2 tsp fine sea salt
- 1/2 tsp whole black peppercorns (optional)
- 1/2 tsp coriander seeds (optional)
Do This
- 1. Thinly slice radishes and ginger; smash garlic and slice chili.
- 2. Pack ginger, garlic, chili, peppercorns, and coriander into a clean pint jar, then add radish slices to the top.
- 3. In a small saucepan, combine water, vinegar, sugar, and salt; bring just to a simmer, stirring to dissolve.
- 4. Carefully pour hot brine over radishes, pressing gently so everything is submerged.
- 5. Let cool at room temperature, uncovered, for about 20–30 minutes.
- 6. Seal the jar and refrigerate at least 20 more minutes before serving (2+ hours is best).
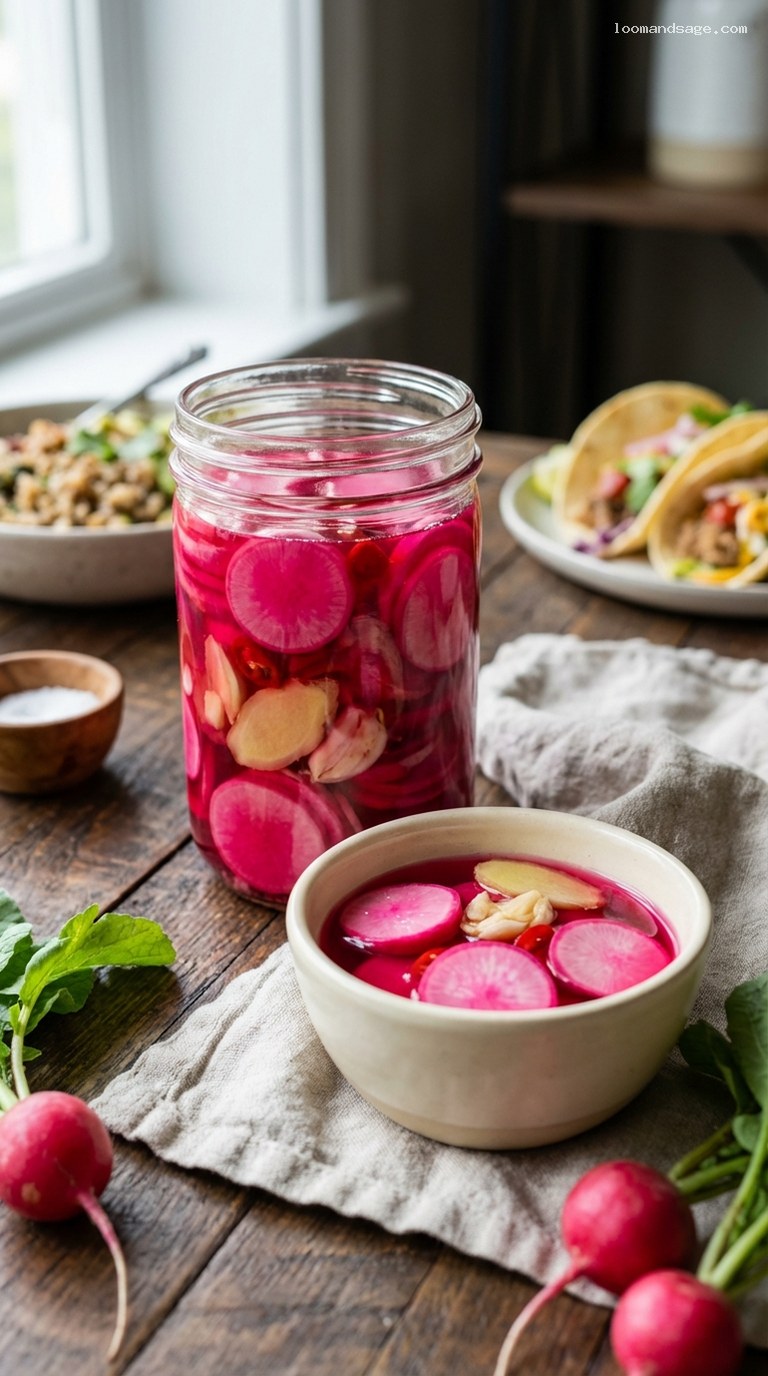
- 7. Use on tacos, grain bowls, salads, sandwiches, or anywhere you want a bright, tangy crunch.
Why You’ll Love This Recipe
- Vibrant hot pink slices that instantly make tacos, grain bowls, and salads look restaurant-level.
- Fast refrigerator pickles: just heat the brine, pour, and chill. No canning equipment needed.
- Balanced flavor: gently sweet, tangy, and lightly spicy with warm ginger and garlic in the background.
- Flexible: easy to adjust the heat, sweetness, or aromatics to match your taste and what you are serving.
Grocery List
- Produce: 1 large bunch red radishes, fresh ginger root, 1 garlic clove, 1 small red chili (Fresno, serrano, or jalapeño)
- Dairy: None
- Pantry: Rice vinegar or distilled white vinegar, granulated sugar, fine sea salt, whole black peppercorns (optional), coriander seeds (optional)
Full Ingredients
For the Radishes and Aromatics
- 10 oz red radishes (about 1 large bunch), well washed and thinly sliced into rounds
- 1-inch piece fresh ginger, peeled and thinly sliced into coins or matchsticks
- 1 large garlic clove, peeled and lightly smashed
- 1 small red chili, such as Fresno, serrano, or jalapeño, thinly sliced
- or 1/2 teaspoon red pepper flakes, to taste
- 1/2 teaspoon whole black peppercorns (optional, for a subtle peppery note)
- 1/2 teaspoon coriander seeds (optional, for citrusy warmth)
For the Pickling Brine
- 1 cup water
- 3/4 cup rice vinegar
- or 3/4 cup distilled white vinegar for a sharper tang
- 2 tablespoons granulated sugar
- 2 teaspoons fine sea salt or kosher salt (not iodized table salt)
Equipment
- 1 clean glass pint jar with a tight-fitting lid (or equivalent container)
- Small saucepan
- Cutting board and sharp knife or mandoline slicer
- Heatproof measuring cup or funnel (optional but helpful)
Step-by-Step Instructions
Step 1: Prep the jar and slice the radishes
Wash your pint jar and lid with hot, soapy water and rinse well. It does not need to be sterilized for refrigerator pickles, but it should be very clean.
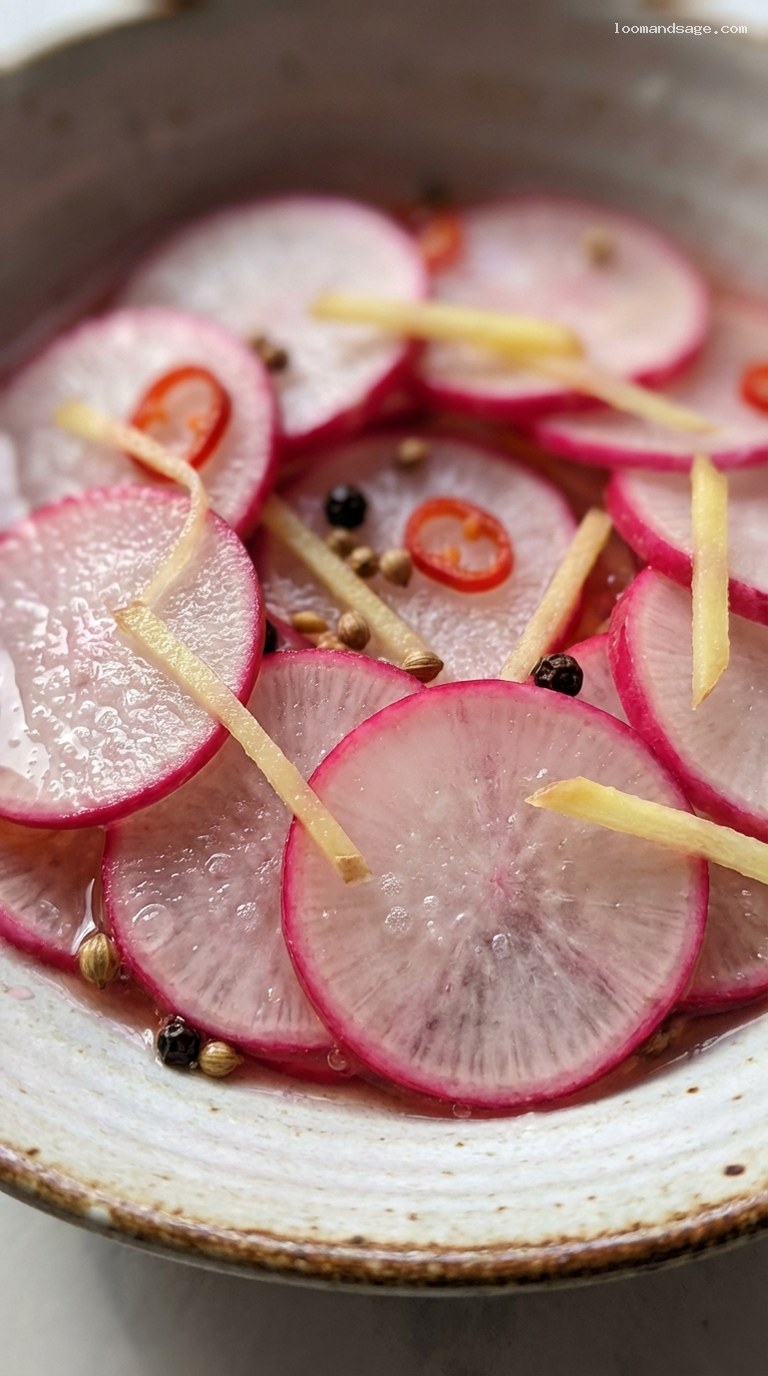
Rinse the radishes thoroughly, scrubbing off any dirt, and trim off the root and stem ends. Using a sharp knife or a mandoline on the thinnest safe setting, slice the radishes into thin rounds about 1/16–1/8 inch thick. Thinner slices will pickle faster and stay more tender-crisp.
Step 2: Prep the ginger, garlic, and chili
Peel the ginger with the edge of a spoon or a small knife, then slice it into thin coins or matchsticks. Peel the garlic clove and lightly smash it with the side of the knife to release more flavor, keeping it mostly intact so it is easy to remove later if you like.
Slice the chili into thin rings, keeping or discarding the seeds depending on your heat preference. For a milder heat, remove most of the seeds and inner membranes. If using red pepper flakes instead, simply measure them out and have them ready.
Step 3: Pack the jar with aromatics and radishes
Place the ginger slices, smashed garlic, chili rings (or red pepper flakes), peppercorns, and coriander seeds (if using) into the bottom of the clean jar.
Layer the radish slices into the jar, gently pressing them down as you go to fit in as many as possible without crushing them. Leave about 1/2 inch of space at the top to allow the brine to fully cover the radishes.
Step 4: Make the hot pink pickling brine
In a small saucepan, combine the water, vinegar, sugar, and salt. Place over medium heat and stir occasionally until the sugar and salt dissolve completely and the mixture just comes to a simmer. This usually takes 3–5 minutes.
Once the brine is steaming and the seasonings are fully dissolved, remove the pan from the heat. You do not need a full rolling boil; gentle bubbling is enough. If you want the radishes to stay extra crisp, you can let the brine cool for 3–5 minutes before pouring it over the vegetables.
Step 5: Pour the brine and submerge the radishes
Carefully pour the hot brine over the radishes and aromatics in the jar. A heatproof measuring cup or a funnel makes this easier. Pour slowly, pausing to let the liquid trickle down and fill the gaps between slices.
Use a clean spoon to gently press down the radishes so they are fully submerged in the brine. If necessary, add a splash of extra vinegar or water to ensure everything is covered, still leaving a little headspace at the top. As the pickles sit, the radishes will release their color, turning the brine a beautiful hot pink.
Step 6: Cool, chill, and let the flavors develop
Let the uncovered jar cool at room temperature for 20–30 minutes, until it is just slightly warm to the touch. This helps prevent condensation inside the fridge and protects your refrigerator shelves from sudden heat.
Once cooled, screw on the lid and refrigerate the jar. The radishes will start to taste good after about 20 minutes in the fridge, but for the best flavor and color, let them sit at least 2 hours. They are at their peak from about 1 to 7 days, though they will keep for up to 2 weeks, gradually becoming more tangy and slightly softer.
Step 7: Serve on tacos, grain bowls, and more
When you are ready to serve, use a clean fork or tongs to lift out the pickled radishes, letting excess brine drip back into the jar. Pile them onto tacos, tuck them into grain bowls, scatter over salads, or layer into sandwiches and burgers. A few slices instantly add crunch, color, and a bright, gingery tang to almost any savory dish.
Return any unused pickles to the brine, seal the jar, and place it back in the refrigerator promptly.
Pro Tips
- Slice evenly for best texture. A mandoline gives beautifully thin, uniform slices that pickle evenly and stay crisp. If using a knife, take your time to keep slices similar in thickness.
- Use glass, not metal. Always pickle in glass or food-safe ceramic. Vinegar can react with some metals and affect flavor.
- Adjust the sweetness and heat. For a more savory pickle, reduce sugar to 1 tablespoon. For extra heat, keep the chili seeds in and add up to 1 teaspoon red pepper flakes.
- Keep everything submerged. To maximize shelf life and prevent uneven pickling, make sure the radishes stay below the brine. If needed, tuck a small piece of radish or onion on top to act as a “weight.”
- Double the batch. The brine scales up easily. Use the same ratios to make a quart jar if you go through pickles quickly or are serving a crowd.
Variations
- Daikon and radish mix: Swap half the red radishes for thinly sliced daikon radish. The mix of white and pink slices looks beautiful, and daikon adds a mild, juicy crunch.
- Citrus twist: Add a few wide strips of lemon or lime zest to the jar with the ginger for a bright, citrusy aroma that works especially well on fish tacos and grain bowls with seafood.
- Extra-garlic version: Add 2–3 garlic cloves, lightly smashed, and a pinch of dried oregano for a bolder, more assertive flavor that leans toward Mexican taqueria-style pickles.
Storage & Make-Ahead
These ginger-infused pickled radishes are designed as refrigerator pickles and are not intended for shelf-stable canning. Store them in a tightly sealed jar in the refrigerator for up to 2 weeks. The color and flavor are brightest in the first 7–10 days. Always use a clean fork or tongs to remove pickles from the jar, and return them to the fridge promptly after serving.
To make ahead for a party or weekly meal prep, prepare the pickles 1–3 days in advance. This gives the flavors time to meld and deepen, and you will have a ready-to-go jar for tacos, bowls, sandwiches, and snack boards.
Nutrition (per serving)
Approximate values per serving (about 2 tablespoons / 25 g pickled radishes with a little brine): 15 calories; 0 g fat; 0 g saturated fat; 0 mg cholesterol; 260 mg sodium; 3.5 g carbohydrates; 0.5 g fiber; 2 g sugar; 0.3 g protein. Actual values will vary based on exact slice thickness, how much brine is consumed, and any substitutions.
