

Quick Recipe Version (TL;DR)
Quick Ingredients
- 1 lb (450 g) celery stalks, cut into sticks
- 1 cup (240 ml) water
- 1 cup (240 ml) white wine vinegar or distilled white vinegar
- 3 tbsp granulated sugar
- 1 tbsp kosher salt (or 2 tsp fine sea salt)
- 2 tsp yellow mustard seeds
- 1 tsp whole black peppercorns
- 2 garlic cloves, smashed
- 1 bay leaf
- 1/2 tsp red pepper flakes (optional, for heat)
Do This
- 1. Wash and trim celery; cut into 3–4 inch batons that fit your jar.
- 2. Pack celery sticks tightly into a clean 1-quart (1 L) jar (or two 1-pint jars).
- 3. In a small saucepan, combine water, vinegar, sugar, salt, mustard seeds, peppercorns, garlic, bay leaf, and red pepper flakes.
- 4. Bring brine just to a simmer, stirring to dissolve sugar and salt; remove from heat.
- 5. Carefully pour hot brine over celery, fully covering sticks; tap jar to release air bubbles and top up if needed.
- 6. Let cool to room temperature, then seal and refrigerate.
- 7. Chill at least 8 hours (24 hours is best) before using in salads, snack boards, or Bloody Marys.
Why You’ll Love This Recipe
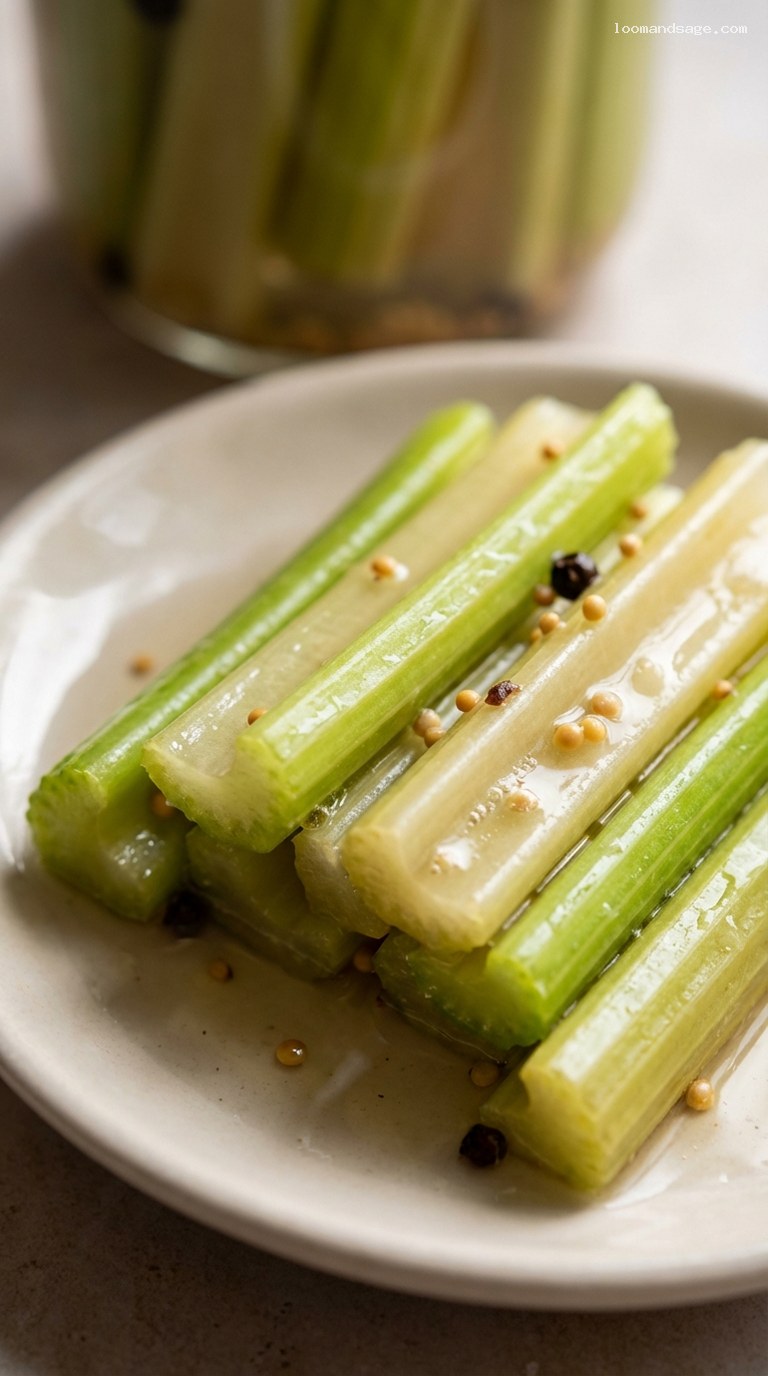
- Crisp, snappy celery sticks with a bright, zesty, slightly sweet brine that wakes up salads, sandwiches, and cocktails.
- Fast, easy refrigerator pickles: no canning equipment or special skills required.
- Flexible flavor: adjust the sweetness, tang, and spice to match your taste or the occasion.
- Perfect make-ahead garnish for Bloody Mary bars, brunch boards, and meal prep.
Grocery List
- Produce: 1 lb (450 g) celery, 2 garlic cloves
- Dairy: None
- Pantry: White wine vinegar or distilled white vinegar, granulated sugar, kosher or sea salt, yellow mustard seeds, whole black peppercorns, bay leaf, red pepper flakes (optional)
Full Ingredients
For the Pickled Celery
- 1 lb (450 g) fresh celery stalks (about 8–10 ribs), leaves reserved if desired
For the Zesty Brine
- 1 cup (240 ml) water
- 1 cup (240 ml) white wine vinegar or distilled white vinegar
- 3 tbsp granulated sugar
- 1 tbsp kosher salt
- If using fine sea salt, use 2 tsp (it is denser than kosher salt).
- 2 tsp yellow mustard seeds
- 1 tsp whole black peppercorns
- 2 medium garlic cloves, lightly smashed
- 1 dried bay leaf
- 1/2 tsp red pepper flakes (optional, for a gentle kick)
Equipment
- 1 clean 1-quart (1 L) glass jar with tight-fitting lid
- or 2 clean 1-pint (500 ml) jars
- Cutting board and sharp knife
- Small saucepan
- Heatproof measuring jug (optional, but helpful for pouring)
Step-by-Step Instructions
Step 1: Prepare the jars and celery
Wash your jar (or jars) thoroughly in hot, soapy water, then rinse well. They do not need to be sterilized for refrigerator pickles, but they should be very clean.
Rinse the celery stalks under cold water, paying attention to any dirt trapped in the ribs. Trim off the root ends and any dry or damaged tops. If the stalks are very wide, slice them lengthwise once or twice so the pieces are about 1/2 inch (1.25 cm) thick.
Cut the celery into batons about 3–4 inches (7.5–10 cm) long so they fit comfortably inside your jar with at least 1/2 inch (1.25 cm) space at the top. If you like, set aside any tender, pale green leaves to tuck into the jar for extra flavor and a pretty look.
Step 2: Pack the celery into the jar
Stand the celery sticks upright in the jar, packing them in fairly tightly so they do not float once the brine is added. This gives you crisp, evenly pickled sticks that are easy to pull out later for salads or Bloody Mary garnishes.
Slide any reserved celery leaves down the sides of the jar, in between the sticks. Leave about 1/2 inch (1.25 cm) headspace at the top so the brine can fully cover the celery without overflowing.
Step 3: Make the mustard and pepper brine
In a small saucepan, combine the water, vinegar, sugar, and salt. Add the mustard seeds, black peppercorns, smashed garlic cloves, bay leaf, and red pepper flakes (if using).
Set the pan over medium heat and bring the mixture just to a simmer, stirring occasionally to help dissolve the sugar and salt. Once you see small bubbles around the edges and everything has dissolved, remove the pan from the heat. There is no need to boil vigorously.
Step 4: Pour the hot brine over the celery
Carefully pour the hot brine over the packed celery sticks. You can transfer the brine to a heatproof measuring jug first to make pouring easier and more controlled.
Make sure all of the celery is completely submerged. If needed, gently press the sticks down with the back of a clean spoon. Leave about 1/4–1/2 inch (0.5–1.25 cm) space at the top of the jar. Distribute the mustard seeds, peppercorns, and garlic cloves evenly so some are visible along the sides of the jar for a nice look.
Tap the jar firmly on the counter a few times to knock loose any air bubbles. If the level drops, top up with a bit more hot water or vinegar in the same ratio you used.
Step 5: Cool, cover, and refrigerate
Let the jar sit at room temperature, uncovered or loosely covered, until it is no longer warm to the touch, about 30–45 minutes. This prevents condensation from forming inside the lid and helps the glass adjust gradually so it does not crack.
Once cool, wipe the rim of the jar, seal tightly with the lid, and place it in the refrigerator. The celery will start absorbing flavor almost immediately.
Step 6: Let the celery pickle and serve
For the best flavor and texture, let the celery refrigerate in the brine for at least 8 hours before eating. After 24 hours, the sticks will be fully pickled: crisp, tangy, lightly sweet, and infused with mustard seed and black pepper.
To serve, pull out celery sticks with clean tongs or a fork. Use them as a crunchy snack, chop them into salads or tuna/egg salads for extra zip, or spear a few batons on cocktail picks to garnish Bloody Marys. Avoid dipping fingers directly into the brine to keep the pickles fresher for longer.
Step 7: Adjust to taste for future batches
After your first batch has rested overnight, taste a stick. If you would like a sharper, more vinegary pickle next time, increase the vinegar and reduce the water slightly (for example, 1 1/4 cups vinegar and 3/4 cup water). For a sweeter profile, add an extra tablespoon of sugar. If you want more heat, increase the red pepper flakes to 1 tsp or add a sliced fresh chili to the jar.
Make notes of what you change so you can easily repeat your perfect house version of pickled celery.
Pro Tips
- Use very fresh, crisp celery. Limp celery will not magically become crunchy in brine. Choose firm, bright green stalks with no soft spots.
- Cut even-sized sticks. Similar thickness means the celery pickles at the same rate and looks neat in the jar and in cocktails.
- Do not skip the cooling step. Letting the brine-covered jar cool before refrigerating helps keep texture crisp and reduces condensation under the lid.
- Keep everything submerged. If celery sticks poke above the brine, they can discolor and soften. You can use a small, clean weight (like a glass fermentation weight) if needed.
- Let the flavors develop. You can nibble after 8 hours, but 24–48 hours in the fridge gives the best balance of tang, spice, and sweetness.
Variations
- Spicy Bloody Mary Pickles: Increase red pepper flakes to 1 tsp, add 1/2 tsp celery seed, and tuck a sliced jalapeño or serrano chili into the jar. These fiery sticks are fantastic in Bloody Marys or micheladas.
- Herb and Lemon Celery Pickles: Add 4–6 fresh dill sprigs and a few strips of lemon zest (avoid the bitter white pith). This version is lovely chopped into potato salads and grain bowls.
- Mixed Veggie Sticks: Replace up to half of the celery with carrot and cucumber sticks cut to the same length. Use the same brine for a colorful, crunchy pickle mix.
Storage & Make-Ahead
These are refrigerator pickles, not shelf-stable canned pickles. Keep the jar tightly sealed in the refrigerator at all times. Properly stored and always handled with clean utensils, the pickled celery will keep its best texture and flavor for about 2–3 weeks.
You can easily make this recipe several days ahead of a party or brunch. In fact, preparing it at least 24 hours in advance is ideal so the flavors fully develop. If the brine ever looks cloudy, smells off, or you see mold, discard the entire contents.
Nutrition (per serving)
Approximate values per 1/4 cup (about 4–5 sticks), drained:
Calories: 8; Protein: 0.3 g; Carbohydrates: 1.8 g; Sugars: 1.4 g; Fat: 0 g; Fiber: 0.5 g; Sodium: about 260 mg (will vary depending on exact salt used and how much brine clings to the celery).
