
Quick Recipe Version (TL;DR)
Quick Ingredients
- 2 cups (260 g) all-purpose flour
- 1/2 cup (45 g) unsweetened cocoa powder
- 1 1/4 tsp baking soda + 1/2 tsp baking powder
- 1 tsp fine salt
- 1/2 cup (115 g) unsalted butter, softened, plus 3/4 cup (170 g) for filling
- 1/4 cup (60 ml) neutral oil
- 1 cup (200 g) light brown sugar + 1/2 cup (100 g) granulated sugar
- 1 large egg, room temperature
- 3 1/2 tsp vanilla extract (2 tsp for cakes, 1 1/2 tsp for filling)
- 1 cup (240 ml) buttermilk, room temperature
- 2 cups (240 g) powdered sugar
- 2 cups (220 g) marshmallow creme (marshmallow fluff)
- 1–3 tbsp heavy cream or milk
- Pinch of fine salt for filling
Do This
- 1. Preheat oven to 350°F (175°C). Line 2 large baking sheets with parchment paper.
- 2. Whisk flour, cocoa, baking soda, baking powder, and salt in a bowl.
- 3. Beat butter, oil, brown sugar, and granulated sugar until fluffy. Beat in egg and vanilla.
- 4. Mix in dry ingredients alternately with buttermilk until smooth. Scoop 2-tbsp mounds onto sheets, spacing well.
- 5. Bake 10–12 minutes until domed and springy. Cool completely on racks.
- 6. For filling, beat butter until creamy, then beat in powdered sugar, marshmallow creme, vanilla, salt, and enough cream for a fluffy, pipeable texture. Sandwich about 2 tbsp filling between two cakes. Chill briefly to set.
Why You’ll Love This Recipe
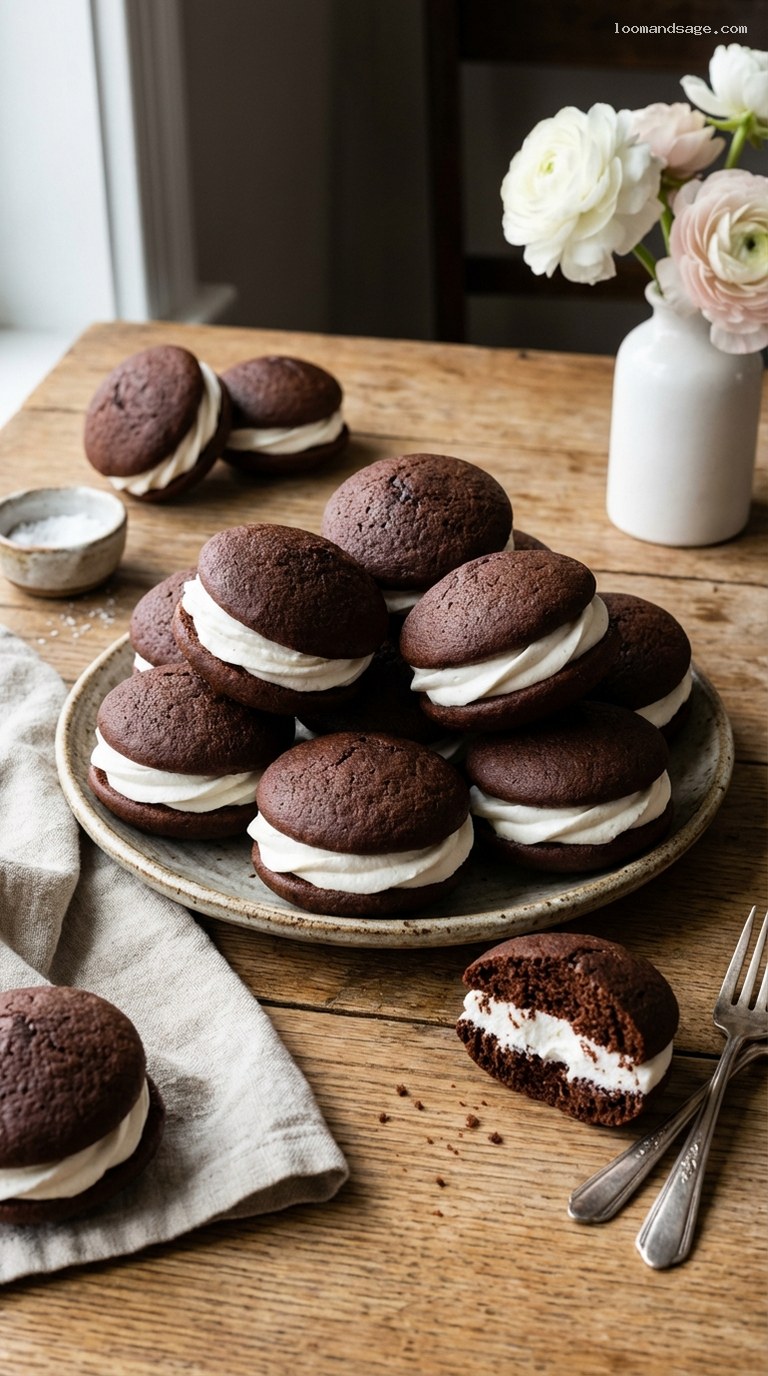
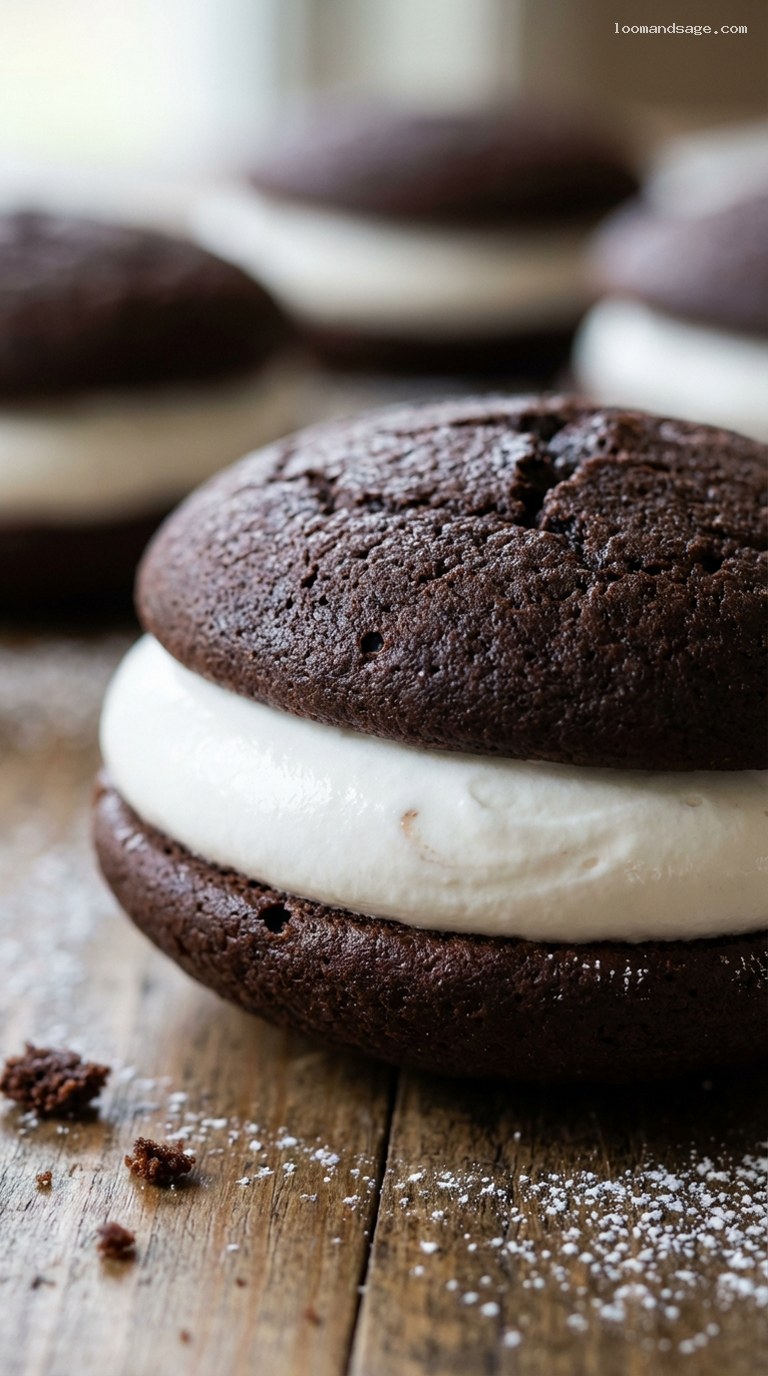
- Pillowy-soft chocolate cake rounds with a tender, almost brownie-like crumb.
- Cloudlike vanilla-mallow filling that tastes like a fluffy marshmallow buttercream.
- Perfect for potlucks, birthdays, bake sales, and lunchboxes—easy to transport and share.
- Can be made ahead; they actually taste even better after a short chill.
Grocery List
- Produce: Optional: fresh berries for serving (strawberries, raspberries).
- Dairy: Unsalted butter, buttermilk, heavy cream or milk, 1 large egg.
- Pantry: All-purpose flour, unsweetened cocoa powder, light brown sugar, granulated sugar, powdered sugar, baking soda, baking powder, fine salt, neutral oil, vanilla extract, marshmallow creme (marshmallow fluff), nonstick spray (optional).
Full Ingredients
For the Chocolate Cake Rounds
- 2 cups (260 g) all-purpose flour, spooned and leveled
- 1/2 cup (45 g) unsweetened cocoa powder (natural, not Dutch-processed)
- 1 1/4 teaspoons baking soda
- 1/2 teaspoon baking powder
- 1 teaspoon fine sea salt (or 3/4 tsp table salt)
- 1/2 cup (115 g) unsalted butter, softened to room temperature
- 1/4 cup (60 ml) neutral oil (such as canola or vegetable oil)
- 1 cup (200 g) packed light brown sugar
- 1/2 cup (100 g) granulated sugar
- 1 large egg, at room temperature
- 2 teaspoons pure vanilla extract
- 1 cup (240 ml) buttermilk, at room temperature
For the Vanilla-Mallow Cream Filling
- 3/4 cup (170 g) unsalted butter, softened to room temperature
- 2 cups (240 g) powdered sugar, sifted if lumpy
- 2 cups (220 g) marshmallow creme (marshmallow fluff)
- 1 1/2 teaspoons pure vanilla extract
- Pinch of fine sea salt
- 1–3 tablespoons heavy cream or milk, as needed for consistency
Optional For Serving
- Extra powdered sugar, for dusting
- Fresh berries for the platter
- Small pinch of flaky sea salt on top of the filling (for a sweet-salty twist)
Step-by-Step Instructions
Step 1: Preheat and prepare your pans
Preheat your oven to 350°F (175°C) with a rack in the center. Line 2 large baking sheets with parchment paper. If you have only one baking sheet, bake in batches, letting the sheet cool between batches.
For extra insurance against sticking, you can give the parchment a light mist of nonstick spray, but it is usually not necessary. Set the prepared pans aside while you mix the batter.
Step 2: Mix the dry ingredients
In a medium bowl, whisk together the flour, cocoa powder, baking soda, baking powder, and salt until well combined and no streaks of cocoa remain. This helps prevent clumps and ensures even rising in the oven.
Set this bowl aside. Having your dry mixture ready makes it easier to alternate with the buttermilk later without overmixing.
Step 3: Cream butter, sugar, and egg
In a large mixing bowl (or the bowl of a stand mixer fitted with the paddle attachment), add the softened 1/2 cup butter, neutral oil, brown sugar, and granulated sugar. Beat on medium-high speed for 3–4 minutes, until the mixture looks lighter in color and fluffy.
Scrape down the sides of the bowl with a spatula. Add the egg and vanilla extract, then beat again for 30–60 seconds, just until the egg is fully incorporated and the mixture is smooth and creamy.
Step 4: Combine with dry ingredients and buttermilk
With the mixer on low speed, add about one-third of the dry ingredient mixture to the creamed butter mixture. Mix just until the flour is mostly incorporated. Add half of the buttermilk and mix briefly.
Repeat with another third of the dry ingredients, then the remaining buttermilk, and finally the last third of the dry mixture, mixing on low after each addition. Stop mixing as soon as the batter is smooth and no dry pockets remain. Overmixing can make the cakes tough instead of pillowy.
Step 5: Scoop and bake the cake rounds
Using a 1 1/2 to 2-tablespoon cookie scoop (or a measuring spoon), portion the batter onto the prepared baking sheets, leaving about 2 inches (5 cm) between mounds; the batter will spread as it bakes. Aim for 32 evenly sized mounds to make 16 whoopie pies.
Bake one sheet at a time for 10–12 minutes, or until the tops are domed, matte (not shiny), and spring back lightly when touched in the center. A toothpick inserted in the center of a cake round should come out with just a few moist crumbs, not wet batter.
Let the cake rounds cool on the baking sheets for 5 minutes, then carefully transfer them to a wire rack to cool completely before filling. Warm cakes will melt the filling, so do not rush this step.
Step 6: Make the vanilla-mallow cream filling
While the cake rounds cool, prepare the filling. In a clean mixing bowl, beat the softened 3/4 cup butter on medium speed for 1–2 minutes until smooth and creamy.
Add the powdered sugar and a pinch of salt. Start mixing on low speed (to avoid a sugar cloud) until mostly incorporated, then increase to medium and beat for another 1–2 minutes, until light and fluffy.
Add the marshmallow creme and vanilla extract. Beat on medium-high for 2–3 minutes, until the filling is thick, fluffy, and glossy. If the filling seems too stiff, beat in 1–3 tablespoons of heavy cream or milk, a little at a time, until it is soft, spreadable, and holds soft peaks. If it seems too loose, add an extra spoonful or two of powdered sugar and beat again.
Step 7: Pair and fill the whoopie pies
Once the cake rounds are completely cool, gently flip them all upside down so the flat sides face up. Pair similar-sized rounds together so your sandwiches look neat.
Using a piping bag fitted with a round tip, or a spoon or small cookie scoop, place about 2 tablespoons of filling onto the flat side of one cake in each pair. Gently top with the matching cake round, flat side down, and press very lightly until the filling just reaches the edges. Avoid pressing too hard or the filling will squeeze out.
If you like, you can lightly sprinkle a tiny pinch of flaky sea salt on the exposed edges of filling for a sweet-salty contrast.
Step 8: Chill briefly, then serve or pack
For the neatest edges and easiest transport, place the assembled whoopie pies on a tray and chill in the refrigerator for 20–30 minutes. This helps the filling firm up and set the sandwiches.
Serve slightly chilled or at cool room temperature. For potlucks or lunchboxes, wrap each whoopie pie individually in parchment or plastic wrap once set, then pack into an airtight container.
Pro Tips
- Room-temperature ingredients are key: Soft butter and room-temperature egg and buttermilk blend more smoothly, giving you a tender, even crumb.
- Do not overbake: Pull the cake rounds as soon as they are puffed and springy. Overbaking dries them out and makes the sandwiches less pillowy.
- Use a cookie scoop: A scoop keeps the rounds evenly sized so they pair up nicely and bake uniformly.
- Adjust filling consistency: If the filling is too soft to hold its shape, chill it for 15 minutes or beat in a bit more powdered sugar.
- Make them kid-lunch friendly: Chill the finished whoopie pies thoroughly before wrapping—this keeps the filling from squishing in lunchboxes.
Variations
- Classic chocolate chip filling: Stir 1/3–1/2 cup mini chocolate chips into the finished marshmallow filling for little pops of chocolate in every bite.
- Mint-chocolate whoopie pies: Swap half the vanilla in the filling for peppermint extract (start with 1/4 teaspoon and adjust to taste), and add crushed peppermint candies around the edges.
- Salted caramel twist: Swirl a few tablespoons of thick caramel sauce into the prepared filling and finish the edges of the whoopie pies with a very light sprinkle of flaky sea salt.
Storage & Make-Ahead
Store assembled whoopie pies in an airtight container in the refrigerator for up to 4 days. For the best texture, let them sit at room temperature for 10–15 minutes before serving so the cakes soften slightly and the filling becomes cloudlike again.
To make ahead, you can bake the cake rounds up to 2 days in advance. Once completely cool, layer them between sheets of parchment in an airtight container at room temperature. The filling can be made 1 day ahead and stored in the refrigerator; bring it to room temperature and re-whip briefly before filling. Fully assembled whoopie pies also freeze well: wrap each one tightly in plastic wrap, place in a freezer bag or container, and freeze for up to 2 months. Thaw overnight in the refrigerator, then bring to room temperature before enjoying.
Nutrition (per serving)
Approximate values per whoopie pie (1 of 16): about 340 calories, 16 g fat, 9 g saturated fat, 50 g carbohydrates, 35 g sugar, 2 g fiber, 3 g protein, and 210 mg sodium. These numbers are estimates and will vary based on exact ingredients and portion sizes.
