
Quick Recipe Version (TL;DR)
Quick Ingredients
- 2 lb small pearl cucumbers, rinsed and trimmed
- 1–2 qt ice water (for soaking)
- 6 fresh dill sprigs
- 6 large garlic cloves, halved
- 2 tsp black peppercorns
- 2 tsp yellow mustard seeds
- 1/2–1 tsp red pepper flakes (optional)
- 2 cups water
- 2 cups distilled white vinegar (5% acidity)
- 2 1/2 tbsp pickling salt (or kosher salt without additives)
- 2 tsp granulated sugar
- 1 tsp calcium chloride (optional, for extra crunch)
Do This
- 1. Wash pearl cucumbers, trim blossom ends, and chill them 20–30 minutes in ice water for extra crunch.
- 2. Place 2 dill sprigs, 2 garlic cloves, and a pinch of peppercorns, mustard seeds, and red pepper flakes (if using) into each of 3 clean pint jars.
- 3. Pack cucumbers snugly into jars, leaving about 1/2 inch headspace at the top.
- 4. In a saucepan, bring water, vinegar, pickling salt, and sugar to a boil; simmer 2 minutes until salt and sugar dissolve.
- 5. If using, stir calcium chloride into the hot brine just before pouring.
- 6. Carefully pour hot brine over cucumbers, still leaving 1/2 inch headspace; tap jars gently to release air bubbles and lid tightly.
- 7. Cool to room temperature, then refrigerate at least 24 hours (3–5 days is best) before serving.
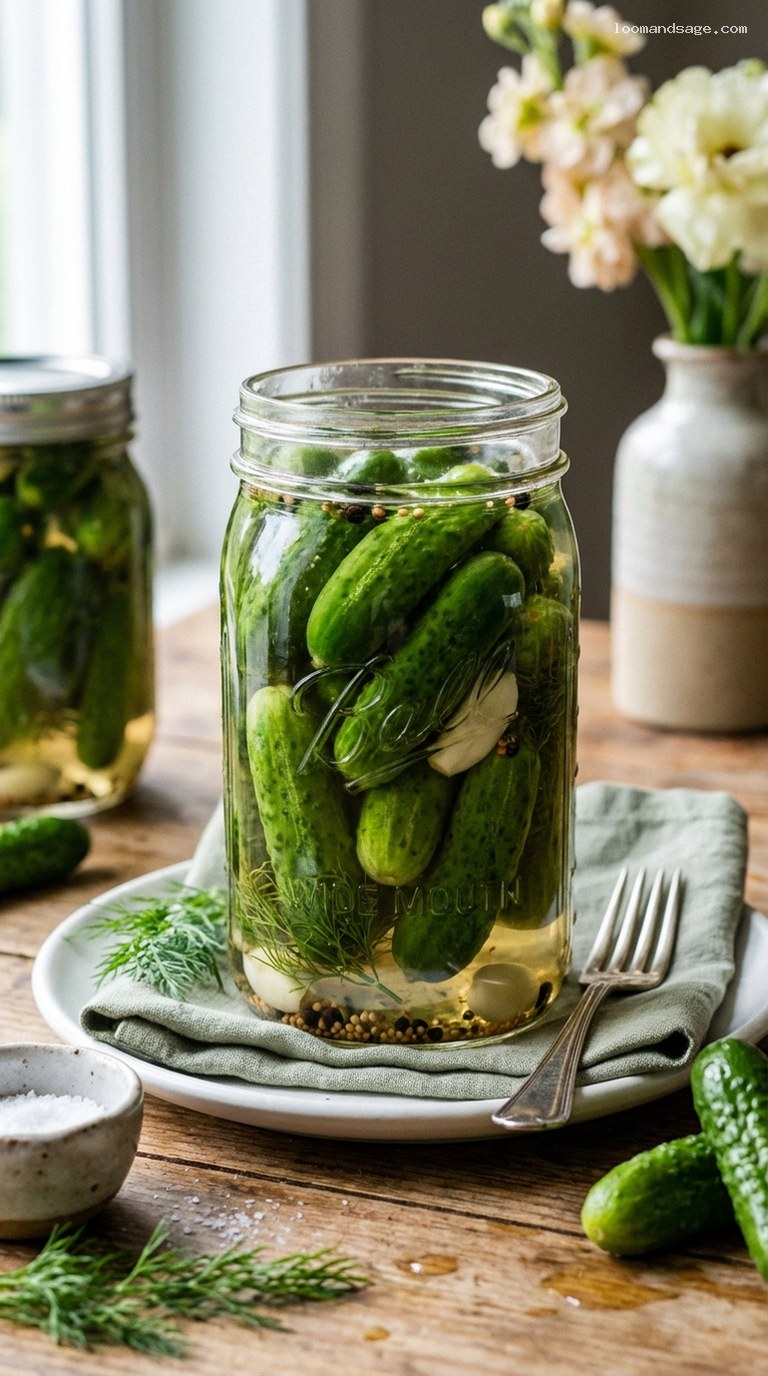
Why You’ll Love This Recipe
- Ultra-crisp, snappy pickles thanks to a simple ice bath and a well-balanced brine.
- Fresh dill and garlic give classic deli pickle flavor with just the right tang.
- Refrigerator-style recipe: no canning equipment needed, just clean jars and a pot.
- Perfect for snacking, cheese boards, sandwiches, and burger nights.
Grocery List
- Produce: Pearl cucumbers (about 2 lb), fresh dill, garlic, optional fresh hot chili or additional herbs if doing variations.
- Dairy: None.
- Pantry: Distilled white vinegar (5% acidity), pickling salt or plain kosher salt, granulated sugar, black peppercorns, yellow mustard seeds, red pepper flakes (optional), calcium chloride (Pickle Crisp, optional), ice (for soaking), clean pint jars with lids.
Full Ingredients
For the Cucumbers and Jars
- 2 lb pearl cucumbers (small, bite-size cucumbers), well rinsed
- 1–2 qt cold water plus plenty of ice (for an ice bath)
- 3 pint-size glass jars with tight-fitting lids, washed with hot soapy water and rinsed
For the Dill-Garlic Brine
- 2 cups water
- 2 cups distilled white vinegar (5% acidity)
- 2 1/2 tbsp pickling salt (or kosher salt without anti-caking agents)
- 2 tsp granulated sugar
- 6 fresh dill sprigs (about 2 per jar)
- 6 large garlic cloves, peeled and halved lengthwise
- 2 tsp whole black peppercorns
- 2 tsp yellow mustard seeds
- 1/2–1 tsp red pepper flakes, to taste (optional, for heat)
Optional for Extra Crunch
- 1 tsp calcium chloride granules (such as Pickle Crisp), divided among jars or stirred into brine
Step-by-Step Instructions
Step 1: Prep the Cucumbers and Jars
Rinse the pearl cucumbers thoroughly under cool running water and drain well. Using a small knife, trim a very thin slice from both ends of each cucumber, especially the blossom end (the end opposite the stem). The blossom end contains enzymes that can soften pickles, so trimming it helps keep them crisp.
Inspect your jars and lids to make sure there are no chips or cracks. Wash them in hot, soapy water, then rinse well with very hot water. Let them drain upside down on a clean towel while you continue. Since these are refrigerator pickles, you do not need to fully sterilize the jars, but they should be very clean and hot-rinsed.
Step 2: Chill the Cucumbers for Extra Crispness
Fill a large bowl with cold water and plenty of ice. Add the trimmed pearl cucumbers to the ice bath. Let them soak for 20–30 minutes. This step helps the cucumbers firm up so they stay snappy after pickling.
While the cucumbers soak, you can prepare the aromatics in the jars and then make the brine. When the soaking time is up, drain the cucumbers well and pat them dry with a clean kitchen towel so excess water does not dilute the brine.
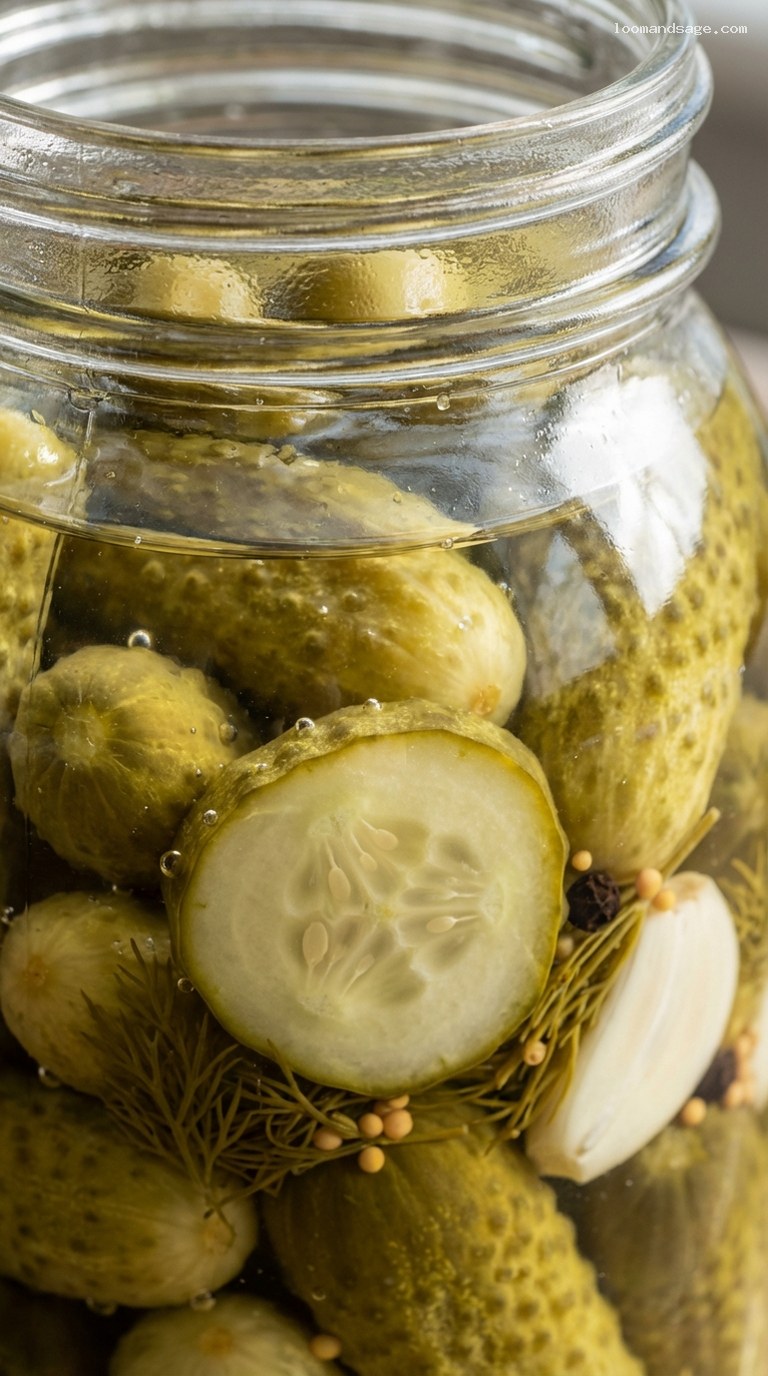
Step 3: Layer Dill, Garlic, and Spices in the Jars
Divide the flavorings among the 3 pint jars. Into each jar, place:
- 2 dill sprigs
- 2 garlic clove halves
- About 2/3 tsp black peppercorns
- About 2/3 tsp yellow mustard seeds
- A pinch (or more) of red pepper flakes, if using
Pack the drained, dried pearl cucumbers upright in the jars, snugly but without crushing them. Leave about 1/2 inch of headspace between the top of the cucumbers and the rim of the jar so there is room for the brine and expansion.
If you are using calcium chloride, you can either sprinkle a pinch (about 1/3 tsp) directly into each jar now, or wait to stir it into the hot brine in the next step. Either method works.
Step 4: Make the Dill-Garlic Brine
In a medium saucepan, combine:
- 2 cups water
- 2 cups distilled white vinegar
- 2 1/2 tbsp pickling salt
- 2 tsp granulated sugar
Place the saucepan over medium-high heat and stir until the salt and sugar dissolve. Bring the mixture to a full boil, then reduce the heat slightly and let it simmer for 2 minutes. This helps fully dissolve the salt and meld the flavors.
If you chose to add calcium chloride to the brine instead of to the jars, remove the brine from the heat and stir in 1 tsp calcium chloride until dissolved. Use caution when working with hot liquid.
Step 5: Pour the Hot Brine and Seal the Jars
Working carefully, use a heatproof measuring cup or ladle to pour the hot brine over the cucumbers in each jar. Pour slowly to allow the liquid to flow into all the spaces between cucumbers. Fill until the cucumbers are completely covered and you still have about 1/2 inch of headspace at the top of each jar.
Use a clean butter knife or a small spatula to gently run around the inside edge of each jar to release any trapped air bubbles. Add a bit more brine if needed to keep the cucumbers submerged, still keeping the headspace.
Wipe the rims of the jars with a clean, damp cloth to remove any spills. Place the lids on the jars and screw the bands on until fingertip tight (snug but not overly tight).
Step 6: Cool, Chill, and Let the Flavors Develop
Allow the jars to cool at room temperature for about 1–2 hours, until no longer warm to the touch. Do not place very hot jars directly into the refrigerator, as the sudden temperature change can stress the glass.
Once cooled, transfer the jars to the refrigerator. Let the cucumbers pickle for at least 24 hours before tasting, though 3–5 days of chilling will give you the best flavor and color. The cucumbers will turn a slightly darker, more translucent green as they absorb the brine.
Keep the cucumbers fully submerged in the brine. If any float to the surface, you can use a small food-safe weight or a piece of onion or extra cucumber slice to help hold them under the liquid.
Pro Tips
- Trim the blossom ends: Always remove the blossom end to avoid soft pickles. It is a tiny extra step that makes a big difference in texture.
- Use the right salt: Pickling salt or additive-free kosher salt dissolves cleanly and prevents cloudy brine. Avoid iodized table salt.
- Do not skip the ice bath: The quick chill firms up the cucumbers so they stay crunchy even after days in the brine.
- Flavor to taste: Like it garlicky? Add an extra clove per jar. Prefer more heat? Increase the red pepper flakes or tuck in a slice of fresh chili.
- Rest time matters: The pickles taste fine after 24 hours but become more complex and balanced after 3–5 days. If you can, wait.
Variations
- Lemon-Dill Pearl Cucumbers: Add 3–4 thin slices of lemon per jar and swap half of the white vinegar for white wine vinegar. Keep the dill and garlic for a bright, aromatic twist.
- Spicy Garlic Pearl Cucumbers: Add 1–2 sliced fresh hot chilies (such as jalapeño or serrano) across the jars, increase red pepper flakes to 1 1/2 tsp total, and keep the garlic generous.
- Herb Garden Mix: Along with the dill, add a small sprig of fresh thyme or tarragon and a bay leaf to each jar for a more complex herbal profile.
Storage & Make-Ahead
These are refrigerator pickles, meant to be stored cold rather than processed for pantry storage. Once the jars are cooled and chilled, keep them in the refrigerator for up to 4 weeks for best quality and crunch. Always use a clean utensil to remove pickles from the jar to avoid introducing bacteria. If the brine becomes very cloudy, develops off odors, or you see mold, discard the contents.
You can easily make these several days (or even a week) before you need them. In fact, planning ahead improves both flavor and texture, making this a great make-ahead option for parties, cookouts, or meal prep.
Nutrition (per serving)
Approximate values per serving (about 3–4 pearl cucumbers, including a bit of brine): 10–15 calories; 0 g fat; 2–3 g carbohydrates; 0–1 g sugars; 0.5 g protein; 200–280 mg sodium. Actual values will vary based on exact serving size and how much brine you consume.
