
Quick Recipe Version (TL;DR)
Quick Ingredients
- 2 lb small pickling cucumbers (Kirby, 3–4 inches), scrubbed
- 6 cups filtered water, room temperature
- 6 Tbsp kosher pickling salt or other non-iodized kosher salt
- 8 garlic cloves, peeled and smashed
- 8–10 fresh dill sprigs or 4 dill seed heads
- 2 tsp whole black peppercorns
- 1 tsp mustard seeds (optional)
- 1 tsp coriander seeds (optional)
- 2 bay leaves
- 2 grape or cherry leaves (optional, for extra crispness)
Do This
- 1. Scrub cucumbers, trim 1/8 inch from blossom ends, and leave whole or cut into spears.
- 2. Stir salt into water until completely dissolved to make the brine.
- 3. Place garlic, dill, peppercorns, spices, bay leaves, and optional grape leaves in the bottom of a clean 2-quart jar (or 2 quart jars).
- 4. Pack cucumbers tightly into the jar, then pour brine over them, leaving about 1 inch headspace.
- 5. Weigh cucumbers down so they stay submerged; cover jar with a loose lid or cloth to allow gases to escape.
- 6. Ferment at room temperature (68–75°F) for 2–4 days, checking daily and skimming any foam.
- 7. When pickles are bright green, crisp, and mildly tangy, seal and refrigerate up to 1 month.
Why You’ll Love This Recipe
- Crisp, snappy deli-style pickles with a gentle tang instead of an aggressive sour bite.
- No canning required: this is a simple, short fermentation you can do in a regular jar.
- Big garlic and dill flavor with pantry-friendly ingredients you probably already have.
- Ready to eat in just a couple of days and perfect for sandwiches, burgers, or snacking straight from the jar.
Grocery List
- Produce: 2 lb small pickling cucumbers (Kirby), 1 small onion (optional), fresh garlic, fresh dill, grape or cherry leaves (optional, if available)
- Dairy: None
- Pantry: Kosher pickling salt or non-iodized kosher salt, whole black peppercorns, mustard seeds, coriander seeds, bay leaves, filtered or dechlorinated water
Full Ingredients
For the cucumbers
- 2 pounds small pickling cucumbers (Kirby), 3–4 inches long, very firm and unblemished
- 1 small yellow or white onion, thinly sliced into half-moons (optional, for extra flavor)
For the brine
- 6 cups filtered or dechlorinated water, at room temperature
- 6 tablespoons kosher pickling salt or other non-iodized kosher salt
Flavorings
- 8 garlic cloves, peeled and lightly smashed
- 8–10 fresh dill sprigs or 4 dill seed heads (flowering heads, if you can find them)
- 2 teaspoons whole black peppercorns
- 1 teaspoon mustard seeds (optional)
- 1 teaspoon coriander seeds (optional)
- 2 bay leaves
- 2 grape, oak, or cherry leaves (optional, helps keep pickles extra crisp)
Equipment
- 1 half-gallon (2-liter) glass jar or 2 quart-size glass jars
- Fermentation weight, small clean rock, or a small zip-top bag filled with brine
- Clean kitchen towel or coffee filter and rubber band, or a lid you can leave slightly loose
- Plate or small tray to place under the jar (to catch any overflow)
Step-by-Step Instructions
Step 1: Choose and prep the cucumbers
Pick the freshest, firmest small cucumbers you can find. Look for pickling cucumbers (often labeled Kirby) that are 3–4 inches long, with bumpy skins and no soft spots. The fresher they are, the crisper your pickles will be.
Rinse the cucumbers thoroughly under cool running water and scrub gently to remove any dirt or prickles. Trim about 1/8 inch from the blossom end of each cucumber (this end can contain enzymes that soften pickles). You can leave them whole for a very crisp pickle or cut them lengthwise into spears or in half for faster fermentation.
If using onion, slice it into thin half-moons. Set cucumbers and onion aside while you prepare the brine and jar.
Step 2: Make the salt brine
In a large bowl or measuring jug, combine the 6 cups of room-temperature filtered water with 6 tablespoons of kosher pickling salt (or other non-iodized kosher salt). Stir well until the salt is completely dissolved and the water looks clear.
Using filtered or dechlorinated water is important; chlorine can inhibit fermentation. If your tap water is chlorinated and you do not have a filter, you can fill a jug with water and let it sit uncovered for 24 hours so the chlorine can dissipate.
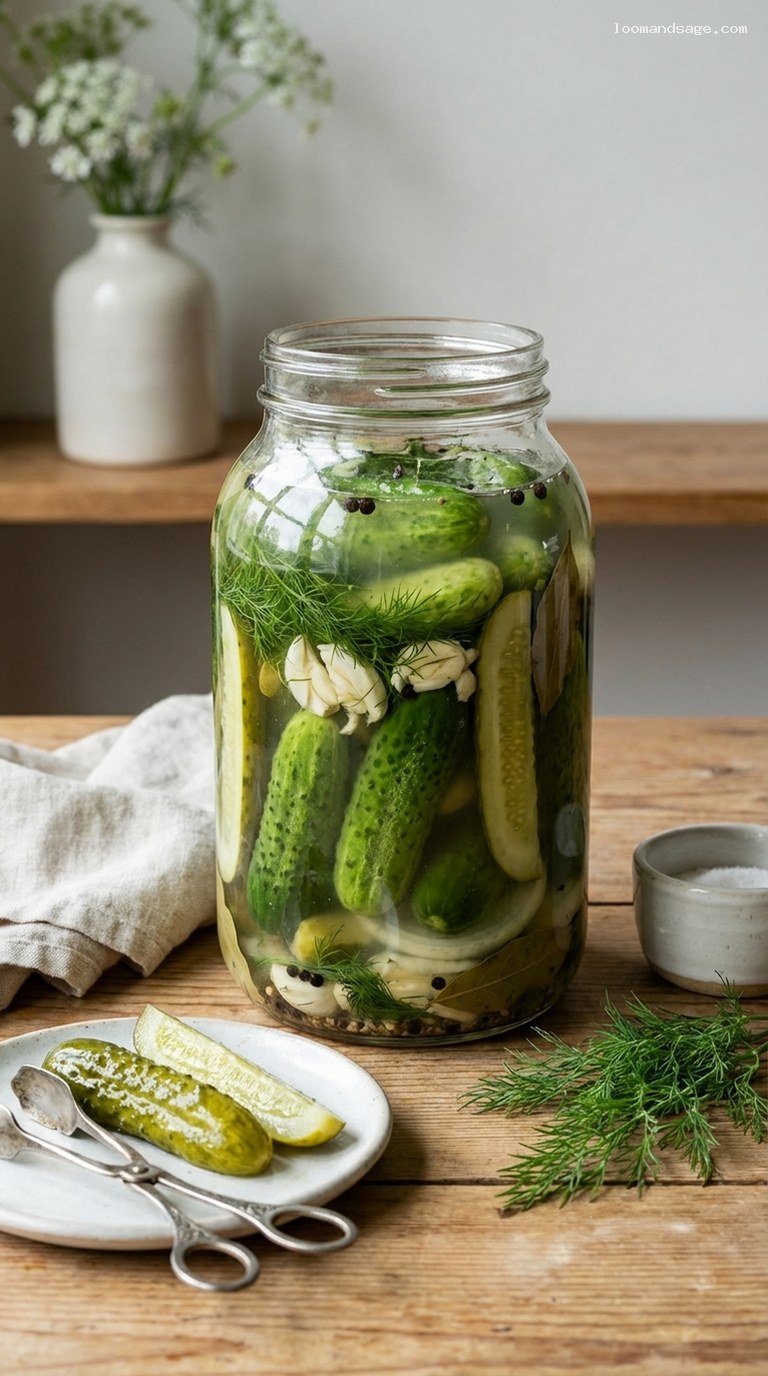
Step 3: Layer aromatics and pack the jar
Place the garlic cloves, dill sprigs or heads, black peppercorns, mustard seeds (if using), coriander seeds (if using), bay leaves, and grape or cherry leaves (if using) into the bottom of your clean glass jar(s). If using onion, scatter the slices among the aromatics.
Pack the cucumbers into the jar standing upright, snug but not so tight that you crush them. Tuck some dill and onion between layers if desired. Leave about 1.5–2 inches of headspace at the top of the jar to allow for bubbling and expansion during fermentation.
Step 4: Add brine and weigh everything down
Pour the prepared brine over the cucumbers and aromatics, making sure everything is well covered. Leave at least 1 inch of headspace at the top of the jar. If you have extra brine, save a little in case you need to top up later; do not dilute with plain water.
Place a fermentation weight, small clean rock, or a small zip-top bag filled with some of the leftover brine on top of the cucumbers to keep them submerged below the liquid. This is crucial: anything exposed to air is more likely to mold. The brine should rise above the weight.
Cover the jar with a clean cloth, coffee filter, or a lid that is screwed on just barely finger-tight. The goal is to keep dust out while still letting gases escape. Set the jar on a plate or tray in case some brine bubbles over during active fermentation.
Step 5: Ferment at room temperature
Place the jar in a cool, shaded spot at room temperature, ideally between 68–75°F (20–24°C). Avoid direct sunlight or hot spots like right next to the stove. Fermentation will start slowly and then become more active over the next day or two.
Check the jar once or twice a day. Look for tiny bubbles rising in the brine and a gradual cloudiness; both are signs of healthy fermentation. If any foam or scum forms on the surface, simply skim it off with a clean spoon. If a cucumber or spice floats above the brine, push it back down under the weight.
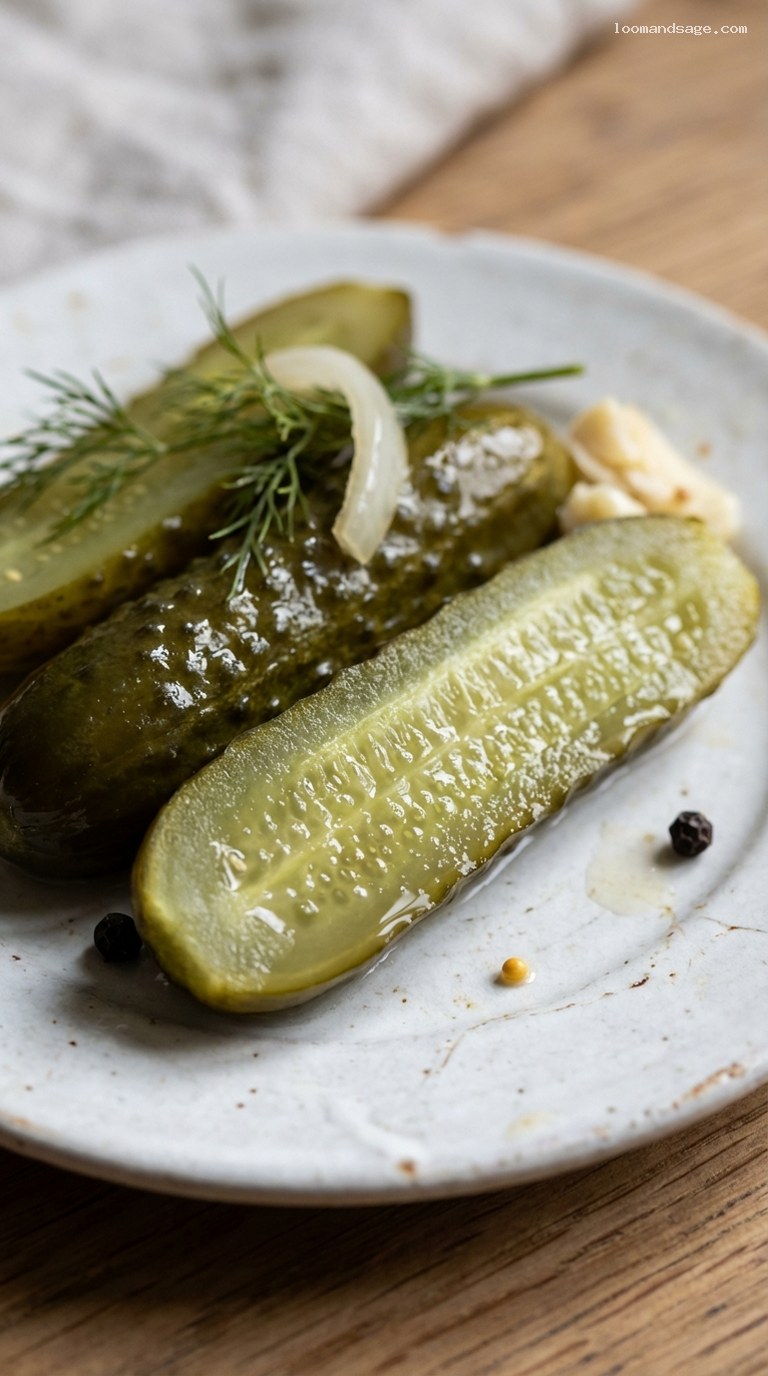
Step 6: Taste and decide when they are half-sour
After 24 hours, begin tasting the brine and a small piece of cucumber daily. Half-sour pickles are ready when:
- The brine is lightly tangy and pleasantly salty.
- The cucumbers are still bright green (not olive-drab like full-sour pickles).
- The texture is very crisp with just a slight give in the center.
For most kitchens at average room temperature, this sweet spot is usually reached around day 2 or 3. Warmer rooms will ferment faster; cooler rooms will be slower. You are in control here: when they taste right to you, they are done.
Step 7: Chill, store, and serve
Once the pickles are as sour as you like, remove the fermentation weight. If you used a cloth cover, replace it with a normal tight-fitting lid. Move the jar to the refrigerator. The cold will slow fermentation way down, locking in that crunchy half-sour texture and mild tang.
Let the pickles chill at least a few hours before serving so the center is cold and the flavors meld. Serve straight from the jar as a snack, tuck into sandwiches and burgers, or slice onto deli platters. The garlic cloves and pickled onions are also delicious to eat.
Pro Tips
- Use very fresh cucumbers. The firmer they are when they go into the jar, the crisper your finished pickles will be. Avoid any that feel bendy or have soft spots.
- Always trim the blossom end. That little 1/8-inch trim helps prevent enzymes from softening the pickles during fermentation.
- Keep everything submerged. Cucumbers and aromatics must stay under the brine at all times. Use a weight and check daily during fermentation.
- Adjust for your salt. Different kosher salts have different crystal sizes. If your pickles taste too salty, use a bit less salt next time; too mild, use a bit more.
- Cloudy brine is normal. A cloudy, slightly effervescent brine with a pleasantly sour smell is a good sign. Fuzzy mold, bright colors, or a rotten smell are not; if in doubt, discard and start over.
Variations
- Spicy Half-Sour Pickles: Add 1–2 sliced fresh jalapeños or 1–2 teaspoons red pepper flakes to the jar along with the garlic and dill for a gentle heat that builds over a few days.
- Extra-Garlic Deli Style: Increase the garlic to 12–14 cloves and add an extra teaspoon of whole black peppercorns for a more intense, classic New York–deli flavor.
- Toward Full-Sour: For a more assertive sourness, simply ferment the pickles longer at room temperature, about 5–7 days total, before refrigerating. The color will deepen and the flavor become more tangy.
Storage & Make-Ahead
Once moved to the refrigerator, your half-sour garlic pickles will keep well for about 3–4 weeks. They will slowly continue to ferment even in the cold, gradually becoming more sour over time. For the crunchiest texture, aim to enjoy them within the first 2–3 weeks. Always use a clean utensil to remove pickles from the jar, and make sure they remain covered in brine between uses. The brine can be used once more to start a new batch (top up with a little fresh 5% brine if needed), but the flavor will be best with fresh aromatics each time.
Nutrition (per serving)
Approximate values for 1 serving (about 2 small spears): 10–15 calories, 0 g fat, 2–3 g carbohydrates, 1 g fiber, 1 g protein, 450–550 mg sodium. Actual values will vary based on cucumber size, exact salt used, and how much brine you consume.
