
Quick Recipe Version (TL;DR)
Quick Ingredients
- 1 large red onion (about 8 oz / 225 g), thinly sliced into rings
- 3/4 cup apple cider vinegar
- 1/4 cup water
- 2 1/2 tbsp granulated sugar
- 1 1/4 tsp fine sea salt
- 2 bay leaves
- 8–10 whole black peppercorns
- Optional: 1 small garlic clove (sliced), pinch red pepper flakes
Do This
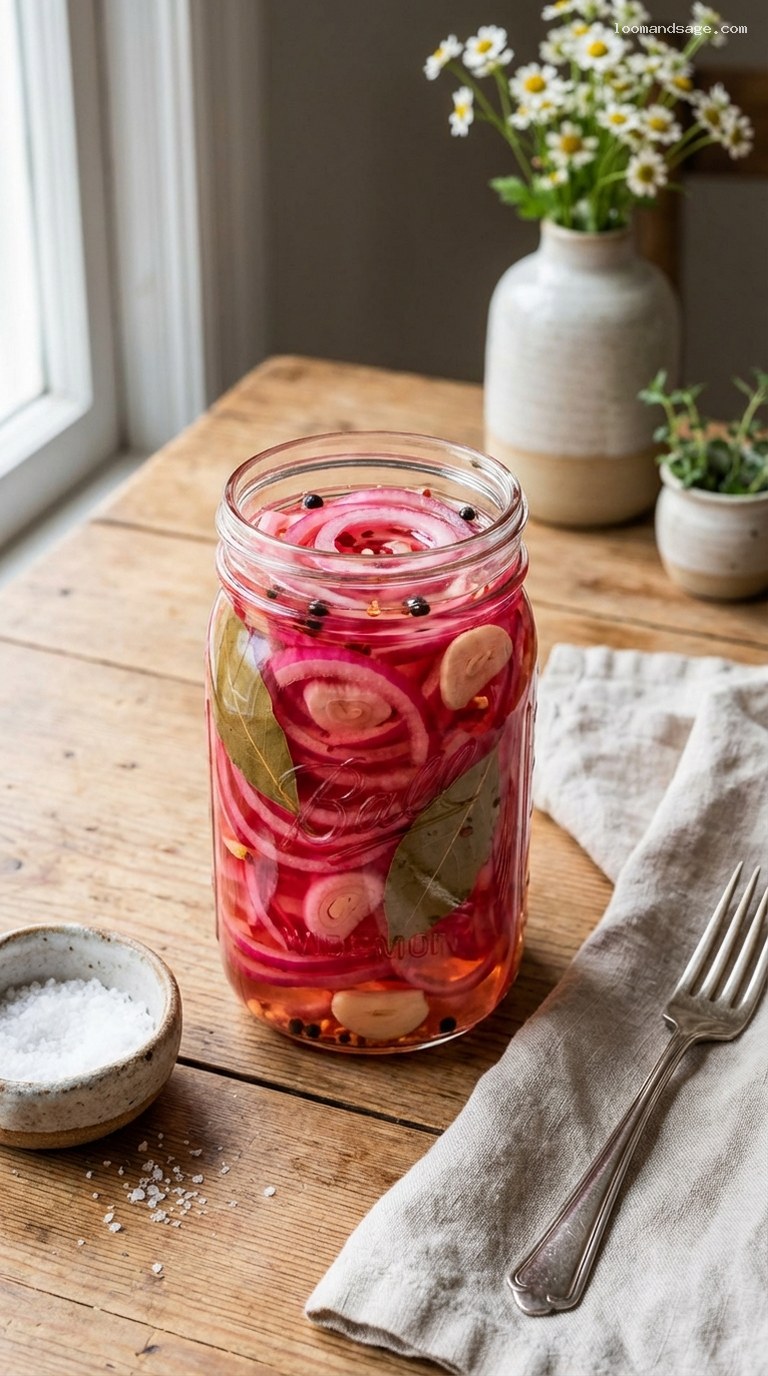
- Peel the red onion and slice into very thin rings or half-moons; pack tightly into a clean 2-cup (500 ml) jar.
- Add bay leaves, peppercorns, and optional garlic/red pepper flakes to the jar with the onions.
- In a small saucepan, combine vinegar, water, sugar, and salt; bring just to a simmer, stirring to dissolve.
- Carefully pour the hot brine over the onions, pressing them down so they are fully submerged.
- Let cool at room temperature for about 25 minutes, uncovered, until bright pink and slightly softened.
- Once cool, seal the jar and refrigerate; enjoy after 30 minutes, or chill at least 2 hours for best flavor.
Why You’ll Love This Recipe
- It transforms simple red onions into a tangy, jewel-toned topping in under an hour.
- Uses basic pantry ingredients but tastes like something from your favorite taco shop.
- Perfect for tacos, burgers, salads, grain bowls, and grilled meats or fish.
- Make once, enjoy all week: they keep beautifully in the fridge.
Grocery List
- Produce: 1 large red onion, 1 small garlic clove (optional)
- Dairy: None
- Pantry: Apple cider vinegar, granulated sugar, fine sea salt, bay leaves, whole black peppercorns, red pepper flakes (optional)
Full Ingredients
Quick Pickled Red Onions
- 1 large red onion (about 8 oz / 225 g)
- 3/4 cup apple cider vinegar
- 1/4 cup water
- 2 1/2 tablespoons granulated sugar
- 1 1/4 teaspoons fine sea salt (or kosher salt)
- 2 dried bay leaves
- 8–10 whole black peppercorns
- Optional but delicious:
- 1 small garlic clove, thinly sliced
- 1/8–1/4 teaspoon red pepper flakes (for heat)
- 2–3 thin strips of lime or orange zest (removed with a vegetable peeler)
Step-by-Step Instructions
Step 1: Prep and slice the red onion
Peel the red onion and trim off the root and stem ends. For classic rings, slice the onion crosswise into very thin rounds, about 1/8 inch (3 mm) thick or thinner if you can manage. You can also halve the onion from root to tip and slice into thin half-moons if you prefer shorter pieces. The thinner the slices, the faster they will pickle and the more tender they will be. Separate any large rings with your fingers so the brine can reach every layer.
Step 2: Pack the jar with onion and aromatics
Choose a clean heatproof jar or container that holds at least 2 cups (500 ml), such as a pint mason jar with a wide mouth. Tightly pack the onion slices into the jar, gently pressing them down as you go. Slip the bay leaves, whole peppercorns, and any optional add-ins (garlic slices, red pepper flakes, citrus zest) in and around the onions so they are distributed throughout the jar. Do not worry if it looks full; the hot brine will soften the onions and they will collapse slightly.
Step 3: Make the hot vinegar brine
In a small saucepan, combine the apple cider vinegar, water, granulated sugar, and sea salt. Place over medium heat and stir occasionally until the sugar and salt have completely dissolved and the brine just comes to a gentle simmer, 3–5 minutes. There is no need to boil it vigorously; you are simply dissolving the seasonings and warming the liquid so it softens the onions quickly. Once the brine is hot and clear, remove the pan from the heat.
Step 4: Pour the brine over the onions
Carefully and slowly pour the hot brine over the onions in the jar. Use the back of a spoon or a small spatula to press the onions down so they are fully submerged. If needed, gently tap the jar on the counter to release any trapped air bubbles and top up with a splash more vinegar or water so everything is completely covered. Make sure the bay leaves and garlic slices, if using, are also under the liquid to help preserve freshness and flavor.
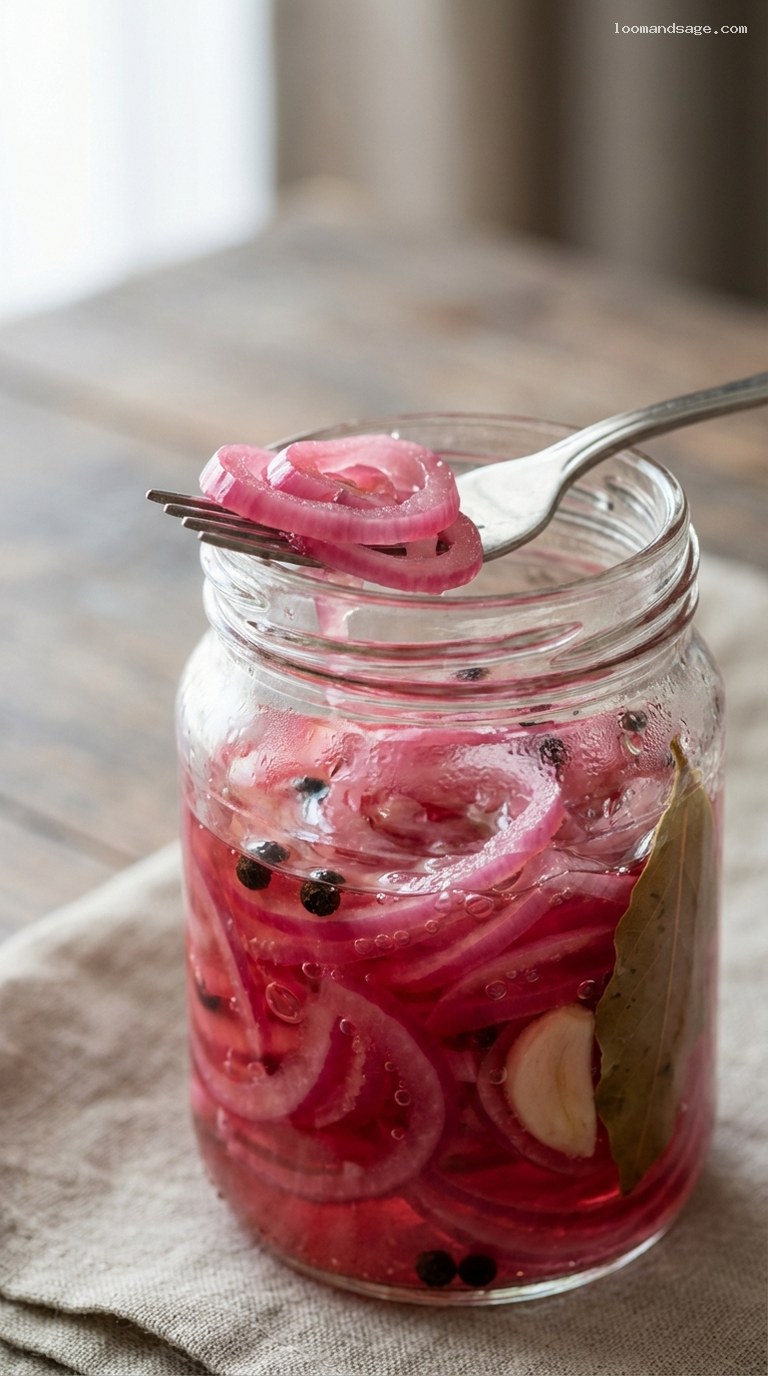
Step 5: Cool and let the onions turn bright pink
Let the jar stand uncovered at room temperature for about 25–30 minutes. During this time, the onions will soften slightly and transform from deep purple to a gorgeous, vivid pink as the vinegar draws out their color. After about 15 minutes, you can give them a gentle stir or press them down again to ensure even pickling. Taste a piece after 20–25 minutes: it should be crisp-tender, pleasantly tangy, and lightly sweet.
Step 6: Chill, store, and serve
Once the onions and brine have cooled to room temperature, seal the jar with a lid and transfer it to the refrigerator. The onions are tasty enough to use after about 30 minutes total, but they are best after chilling for at least 2 hours as the flavors continue to meld. Use them to brighten tacos, salads, grain bowls, burgers, sandwiches, and grilled meats or vegetables. Stored properly in the refrigerator, they will stay vibrant and delicious for up to 2 weeks.
Pro Tips
- Slice as thin as possible: A sharp knife or mandoline makes paper-thin slices that pickle quickly and give the best texture.
- Adjust the sweetness and tang: For sharper pickles, use 2 tablespoons sugar; for sweeter, increase to 3 tablespoons. You can also swap some cider vinegar for white vinegar for a brighter tang.
- Keep everything submerged: Onions exposed to air can discolor or spoil faster. If needed, tuck a small piece of parchment or a clean weight on top to keep them under the brine.
- Use a heatproof jar: Make sure your jar can handle hot liquid. If unsure, let the brine cool for 5–10 minutes before pouring to avoid cracking.
- Let them mellow: If the onions taste too sharp on day one, let them rest another day in the fridge; the flavor softens and balances over time.
Variations
- Spicy Pickled Onions: Add 1/4 teaspoon red pepper flakes and a few thin slices of fresh jalapeño or serrano to the jar for a gentle but noticeable heat that is fantastic on tacos and nachos.
- Citrus and Herb Pickled Onions: Add 2–3 strips of lime or orange zest and a small sprig of fresh oregano or thyme to the jar for a bright, aromatic twist that pairs well with grilled fish or chicken.
- Smoky Pickled Onions: Stir 1/4 teaspoon smoked paprika into the hot brine and add a small piece of crushed garlic. This variation is excellent on burgers, pulled pork, or roasted vegetables.
Storage & Make-Ahead
Store the pickled red onions in a tightly sealed jar or container in the refrigerator. As long as the onions remain fully submerged in the brine and you use a clean utensil to remove them, they will keep for up to 2 weeks. The flavor is good within 30 minutes, better after 2 hours, and at its peak between days 2 and 7. You can easily double or triple the recipe to have a jar ready for parties, meal prep, or weekly taco nights. If you find the onions getting too strong over time, simply lift them out of the brine with a fork and let excess liquid drip off before serving.
Nutrition (per serving)
Approximate values per 2-tablespoon serving (about 15 g), assuming 12 servings: 10–15 calories; 0 g fat; 0 g saturated fat; 3–4 g carbohydrates; 3 g sugar; 0 g protein; 80–120 mg sodium. These numbers are estimates and will vary based on the exact onion size, how much brine you consume, and any variations you use.
