
Quick Recipe Version (TL;DR)
Quick Ingredients
- 12 oz (340 g) snow peas, trimmed
- 1 cup (240 ml) unseasoned rice vinegar
- 1/2 cup (120 ml) water
- 2 tbsp granulated sugar
- 1 1/4 tsp kosher salt
- 1 tbsp soy sauce (or tamari)
- 1 tbsp toasted sesame oil
- 1 tbsp fresh ginger, cut into thin matchsticks
- 2 garlic cloves, thinly sliced
- 1/2 tsp red pepper flakes (optional)
- 2 tbsp toasted sesame seeds, plus extra for serving
Do This
- 1. Bring a medium pot of salted water to a boil and prepare an ice bath (bowl of ice water).
- 2. Trim snow peas and blanch in boiling water for 30–45 seconds until bright green; transfer immediately to ice bath to cool.
- 3. In a small saucepan, combine rice vinegar, water, sugar, salt, soy sauce, sesame oil, ginger, garlic, and red pepper flakes. Bring just to a simmer, stirring to dissolve sugar and salt, then remove from heat.
- 4. Drain and pat snow peas dry, then pack them upright into a clean 1-pint (475 ml) jar or container. Sprinkle in sesame seeds.
- 5. Pour hot brine over snow peas, making sure they are fully submerged. Tap jar gently to release air bubbles.
- 6. Let cool to room temperature (about 20–30 minutes), then cover and refrigerate at least 2 hours.
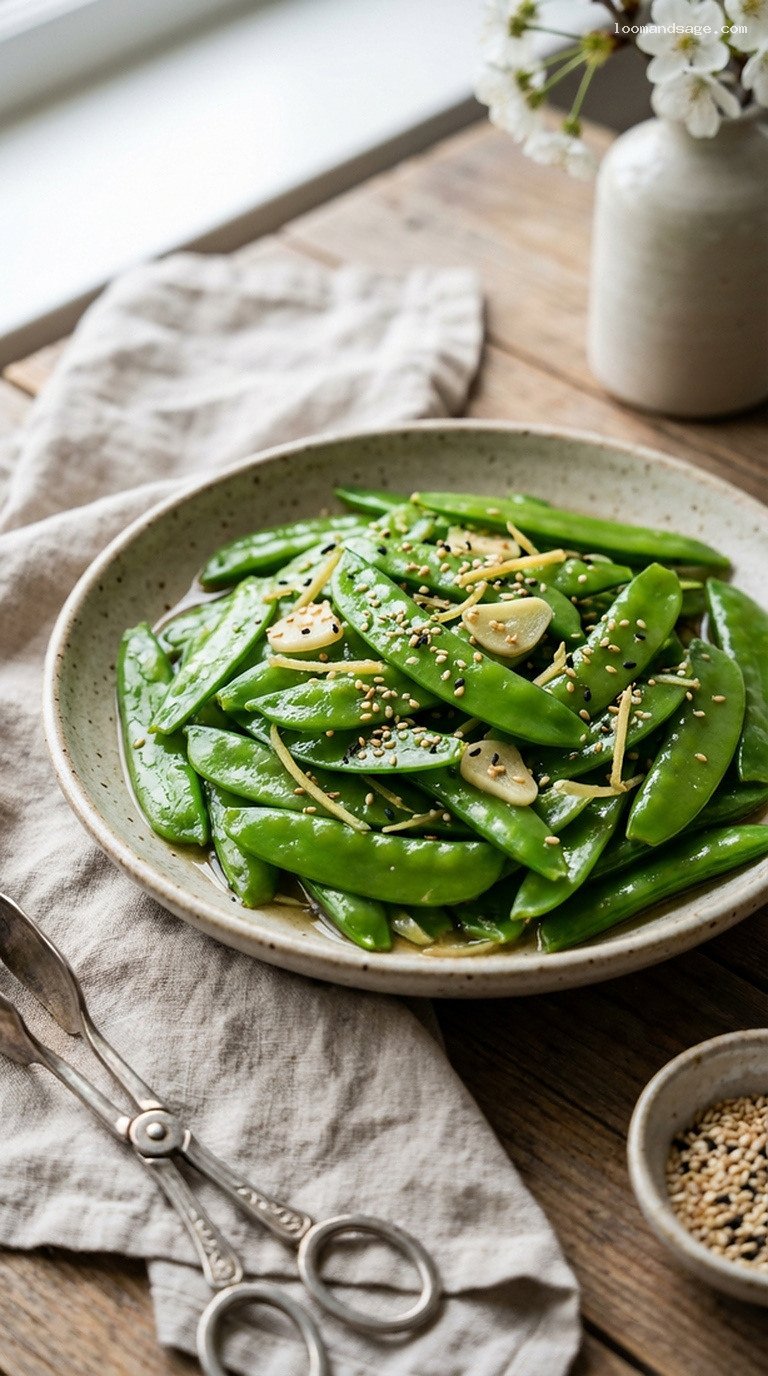
- 7. Serve chilled, garnished with extra sesame seeds. Keep refrigerated and enjoy within 5–7 days.
Why You’ll Love This Recipe
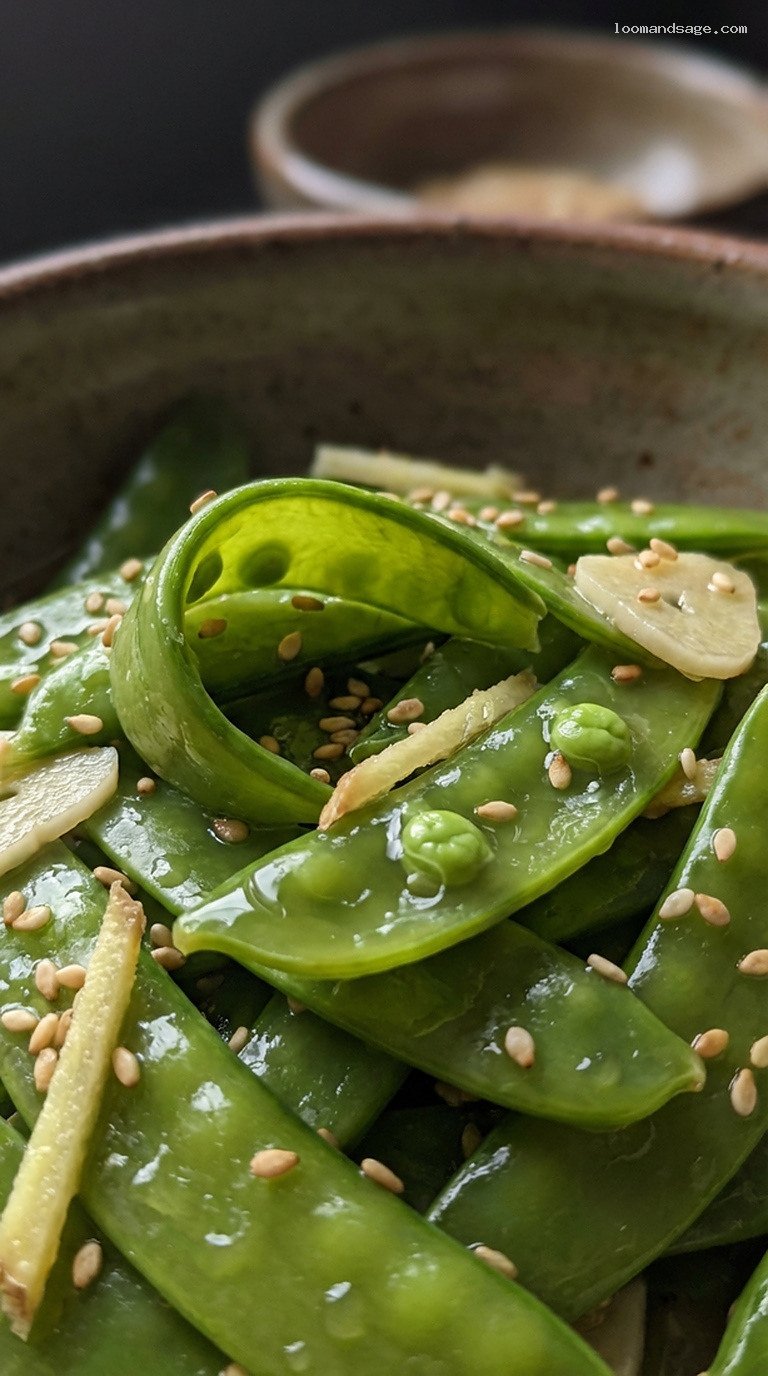
- Ultra-crunchy snow peas in a bright, tangy rice-vinegar brine with just the right hit of ginger and garlic.
- A simple, mostly hands-off refrigerator pickle that feels special enough for guests but easy enough for weeknights.
- Perfect as an Asian-inspired side, a snack straight from the jar, or a colorful topping for rice bowls and salads.
- Make-ahead friendly: they keep beautifully in the fridge, so you can prep once and enjoy all week.
Grocery List
- Produce: Snow peas, fresh ginger, garlic, optional fresh chili (if you prefer over dried flakes), optional scallions for serving.
- Dairy: None.
- Pantry: Unseasoned rice vinegar, soy sauce or tamari, toasted sesame oil, granulated sugar, kosher salt, red pepper flakes, toasted sesame seeds.
Full Ingredients
For the Snow Peas
- 12 oz (340 g) snow peas
- 1 tsp kosher salt (for blanching water; not retained in final recipe)
- Ice cubes (for ice bath)
For the Sesame Ginger Brine
- 1 cup (240 ml) unseasoned rice vinegar (do not use seasoned; it is already salted and sweetened)
- 1/2 cup (120 ml) water
- 2 tbsp granulated sugar
- 1 1/4 tsp kosher salt (use 3/4 tsp if using fine sea salt)
- 1 tbsp soy sauce or tamari (for gluten-free)
- 1 tbsp toasted sesame oil
- 1 tbsp fresh ginger, peeled and cut into very thin matchsticks
- 2 cloves garlic, thinly sliced
- 1/2 tsp red pepper flakes, or to taste (optional, for gentle heat)
For Finishing & Garnish
- 2 tbsp toasted sesame seeds (white, black, or a mix), plus extra for sprinkling before serving
- 1 small scallion, thinly sliced on the diagonal (optional, for garnish)
Step-by-Step Instructions
Step 1: Prep the Snow Peas
Rinse the snow peas under cool running water and drain well. Using your fingers or a small paring knife, trim the stem end of each snow pea. If there is a tough string running along the side, pull it off as you trim. This step keeps the pickles tender-crisp instead of fibrous.
Set the cleaned snow peas aside in a colander. Prepare a large bowl of ice water (ice bath) and keep it near the stove; you will need it immediately after blanching to lock in the bright color and crunch.
Step 2: Blanch and Shock for Maximum Crunch
Bring a medium pot of water (about 2–3 quarts) to a rolling boil and add 1 teaspoon of kosher salt. Carefully add the snow peas and stir so they cook evenly. Blanch for just 30–45 seconds, until they turn a vivid, brighter green and are barely tender but still very crisp.
Quickly transfer the snow peas to the ice bath using a slotted spoon or tongs. Let them chill for 2–3 minutes, until completely cool. This “shocking” step stops the cooking and preserves their snap. Drain well and gently pat dry with a clean kitchen towel or paper towels; moisture will dilute the brine, so dry them as thoroughly as you reasonably can.
Step 3: Make the Sesame Ginger Brine
In a small saucepan, combine the rice vinegar, water, granulated sugar, kosher salt, soy sauce (or tamari), and toasted sesame oil. Add the ginger matchsticks, sliced garlic, and red pepper flakes if using. Stir to combine.
Place the saucepan over medium heat and bring the mixture just to a gentle simmer, stirring occasionally to dissolve the sugar and salt. Once it reaches a simmer and everything is dissolved, remove the pan from the heat. You do not need to boil it for long; the goal is simply to infuse the flavors and fully dissolve the seasonings.
Step 4: Pack the Jar with Snow Peas and Sesame Seeds
Choose a clean glass jar or container that holds at least 1 pint (475 ml) and has a tight-fitting lid. A wide-mouth mason jar works especially well for packing the snow peas upright. If your container is not heatproof, let the brine cool for 10–15 minutes before pouring it in during the next step.
Arrange the blanched, dried snow peas snugly in the jar, standing them upright if possible for a nice presentation. Tuck in any stray pieces of ginger and garlic if they are not already in the jar. Sprinkle the toasted sesame seeds over the snow peas so they are distributed throughout.
Step 5: Add the Hot Brine
Carefully pour the hot (or slightly cooled, if using a non-heatproof container) sesame ginger brine over the snow peas, making sure all of the aromatics go in as well. The snow peas should be completely submerged; if they are not, gently press them down with a clean spoon or add a small piece of parchment or a food-safe weight to keep them under the liquid.
Tap the jar gently on the counter a few times to release any trapped air bubbles. If needed, top up with a splash of extra rice vinegar and water in equal parts, but usually the given quantity is sufficient.
Step 6: Cool, Chill, and Let the Flavors Develop
Let the jar cool at room temperature, uncovered, for about 20–30 minutes, until no longer warm to the touch. Then seal the jar with its lid and transfer it to the refrigerator.
Allow the snow peas to pickle for at least 2 hours before eating for a light, fresh flavor. For the best flavor and color penetration, let them sit 12–24 hours. The longer they rest (within reason), the more pronounced the tang and ginger-garlic notes will become while still staying crisp.
Step 7: Serve and Enjoy
When you are ready to serve, use tongs or a fork to lift the snow peas out of the brine, letting excess liquid drip off. Arrange them on a small plate or shallow bowl. Spoon over a few of the ginger and garlic slices from the jar for extra flavor.
Sprinkle with a little more toasted sesame seed and sliced scallion if you like. Serve chilled as an Asian-inspired side dish, a crunchy snack, or as a topping for rice bowls, noodle salads, sushi platters, or grilled meats and tofu.
Pro Tips
- Do not skip the ice bath: Blanching followed by an ice bath is the key to bright color and crisp texture. Straight raw snow peas will not absorb the brine as nicely and can lose their vivid green.
- Measure the salt accurately: Different salts have different volumes. If using fine sea salt instead of kosher, reduce slightly (about 3/4 teaspoon) to avoid overly salty pickles.
- Pack tightly, but not crushed: A snug pack helps keep the peas submerged and evenly flavored, but do not force them in so hard that they break.
- Adjust the heat level: Red pepper flakes add gentle warmth. For no heat, omit them; for more, increase to 3/4–1 teaspoon or add a few slices of fresh chili.
- Use unseasoned rice vinegar: Seasoned rice vinegar already contains sugar and salt; using it here will throw off the balance and make the pickles too sweet and salty.
Variations
- Citrus twist: Replace 2 tablespoons of the water with fresh lime or lemon juice. Add a few strips of citrus zest to the jar for a bright, fragrant note.
- Garlic-sesame only: Skip the ginger and red pepper flakes, increase the garlic to 3 cloves, and add an extra teaspoon of toasted sesame oil for a smoother, more mellow profile.
- Mixed veggie pickle: Use half snow peas and half thinly sliced carrots, daikon, or cucumber. Keep total volume similar (about 2 packed cups) and blanch harder vegetables like carrots for 1–2 minutes before pickling.
Storage & Make-Ahead
These pickled snow peas are designed as a quick refrigerator pickle, not a shelf-stable canned product. Once cooled and covered, store the jar in the refrigerator for up to 5–7 days. They are at their crunchiest in the first 3–4 days, but still tasty later in the week.
For best quality, always use a clean fork or tongs to remove snow peas from the jar, and keep the peas submerged in brine between uses. You can easily make this recipe 1–2 days ahead of when you plan to serve it; in fact, the flavor improves with an overnight rest.
Nutrition (per serving)
Approximate values per serving (1/4 of the recipe): about 70 calories; 4 g fat; 7 g carbohydrates; 2 g fiber; 4 g sugar; 3 g protein; 330 mg sodium. Actual nutrition will vary based on exact brands and how much brine is consumed.
